The following steps were only tested on Win XP Pro and Windows 7 Pro.
Metrologic Optimus SP5500 Scanner
-
Log into your computer as Administrator
-
Place the Optimus disk in the workstation and run it
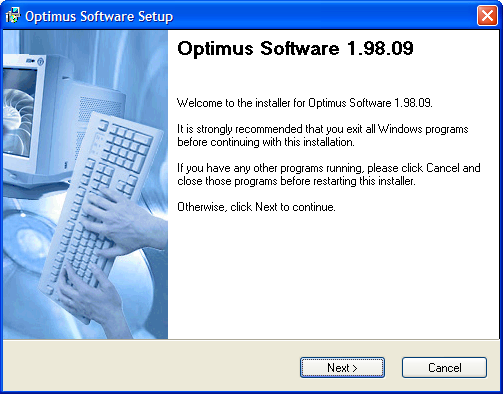
- Click Next

- Click Next
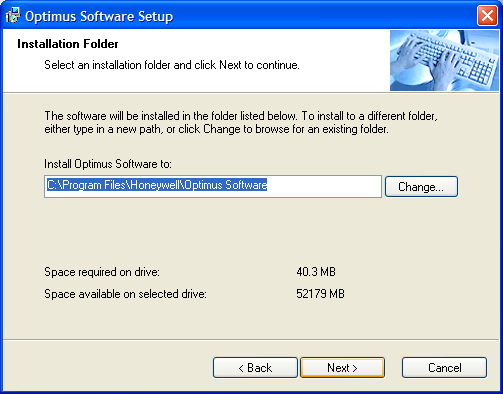
- Click Next

- Click Next
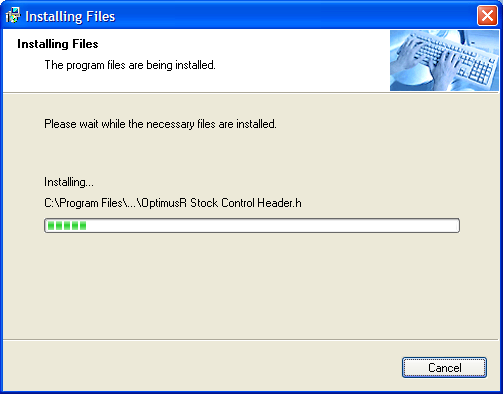

-
Click Finish
-
Right click on My Computer and choose properties
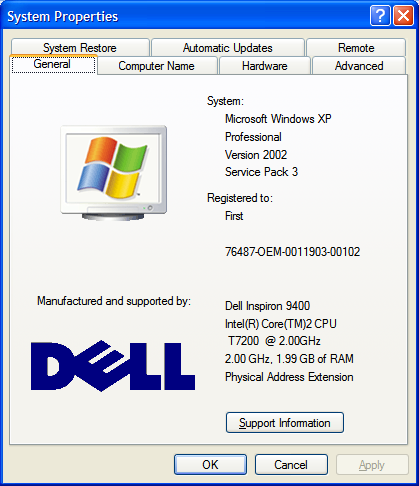
- Click the Hardware tab (For Win7, choose the Device Manager button in the upper left)
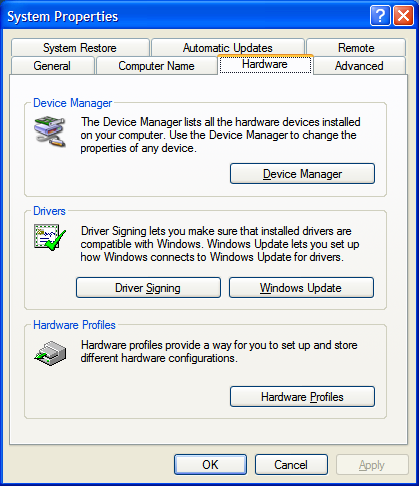
- Device Manager button

- Leave this window open
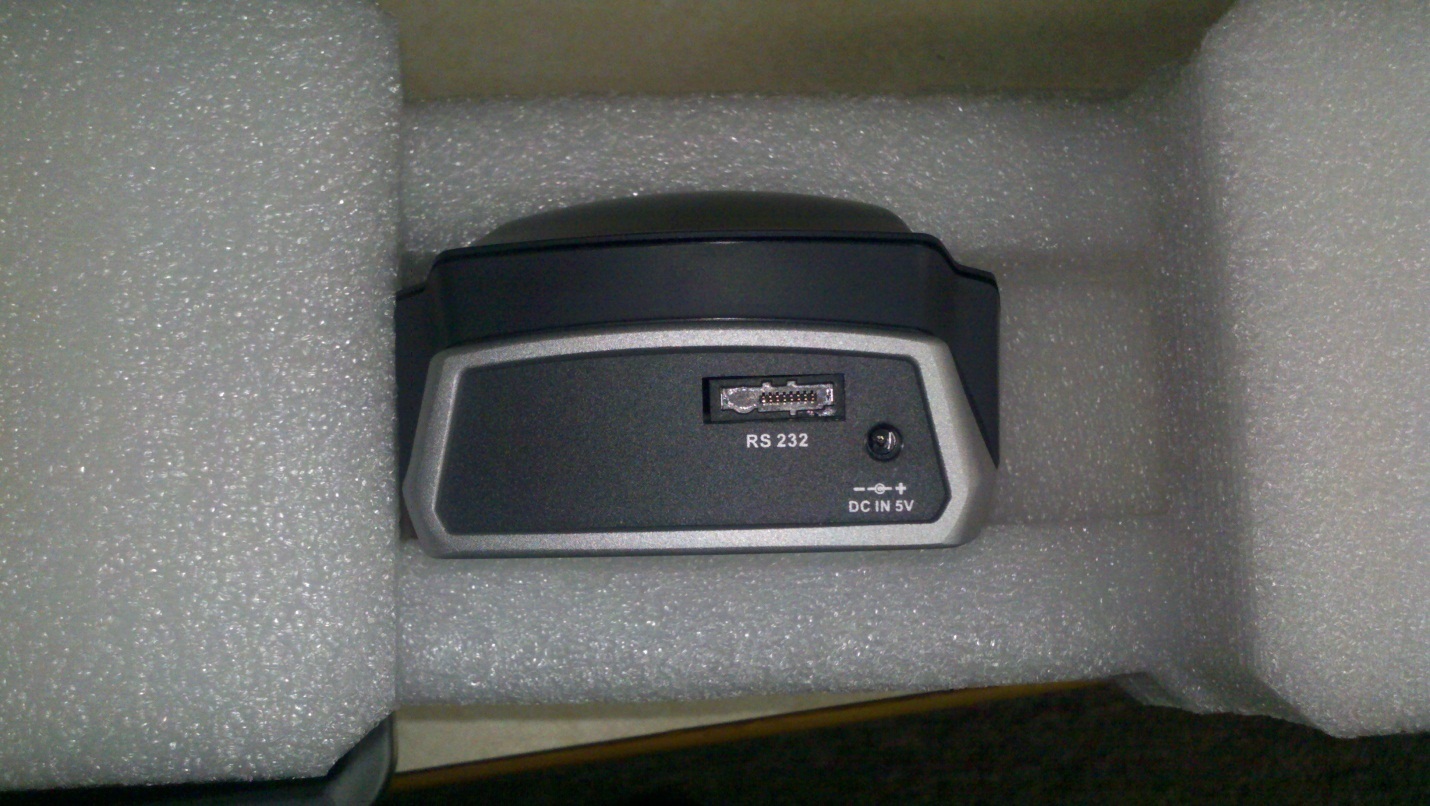
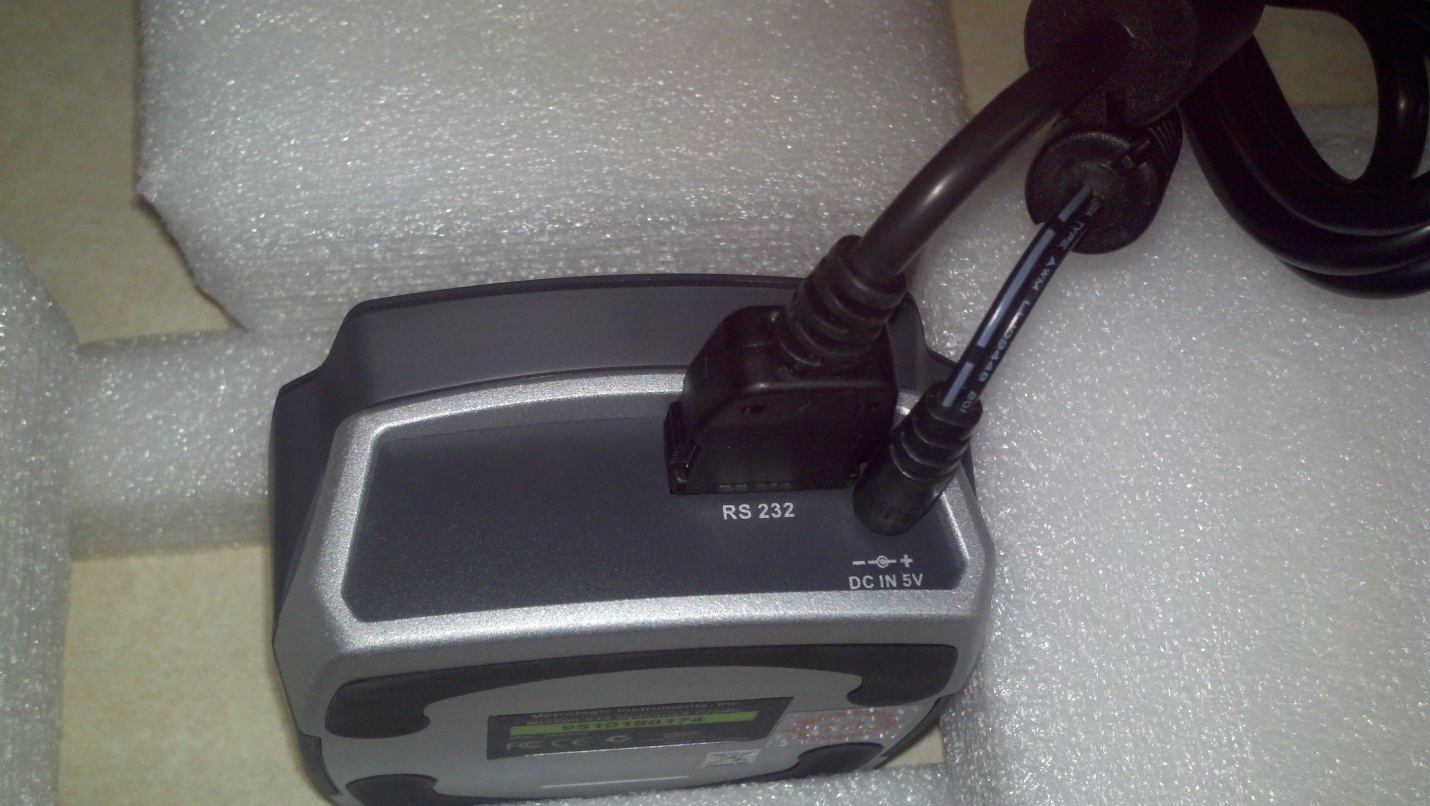
- On the back of the Metrologic cradle, there are two ports: an RS232 port and a DC IN 5V power port
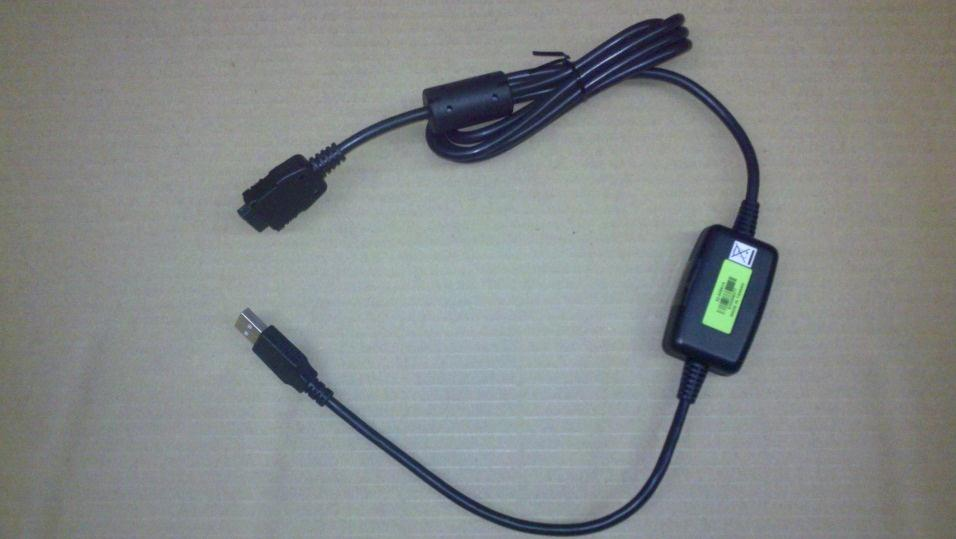
- Here’s the communication cable that comes with the scanner
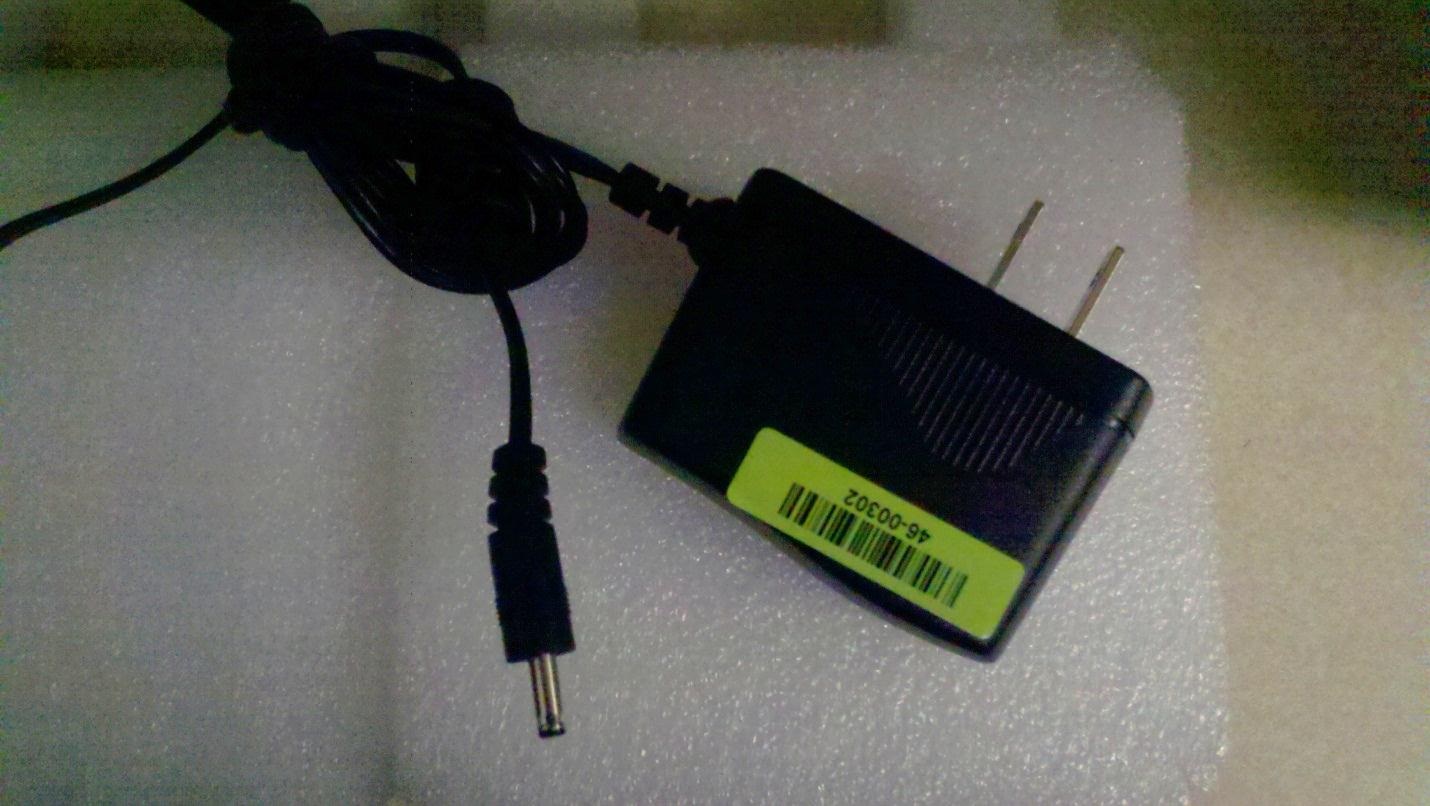
- And here is the power cord
- Plug the power cord and RS232 end of the communication cable into the back of the cradle
- Make sure you do not have the scanner inserted into the cradle for this step - Plug the power cord into an electrical outlet and then plug the USB end of the Communication cable into a USB port on your workstation
- You should get a Found New Hardware message in the bottom right-hand corner of your desktop (near the time)
- Review the hardware list in the Device Manager window (should still be open)
- You should now have an Optimus WHQL Bridge Controller under the Ports section and an Optimus WHQL USB Device under the Universal Serial Bus Controllers section

- In the Ports section, note what COM port is listed. In this example it is COM4, but this will change from computer to computer
Configuring the software for Data Import
- Click on Start > All Programs > Optimus Software > Utilities > Data_Read
-
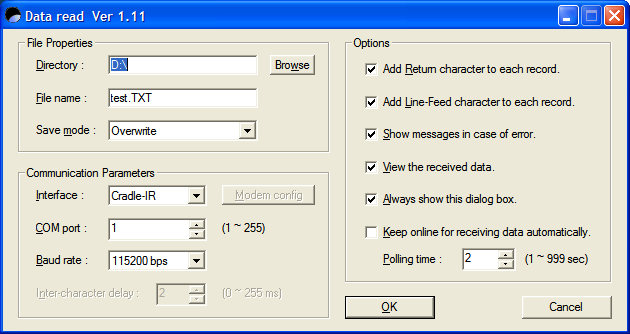
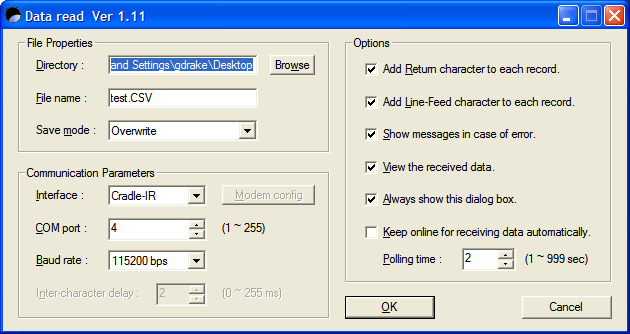
This area controls what will happen when you attempt to download data from the scanner
-
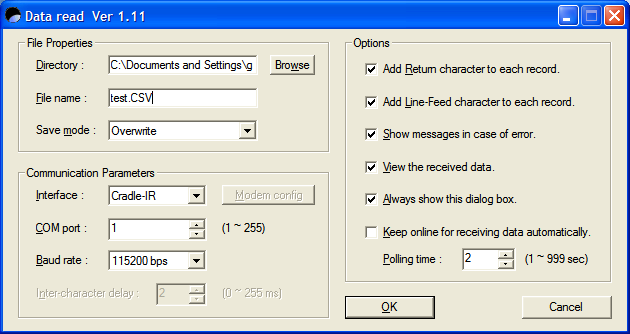
Under File Properties in the upper left, adjust the Directory field to the folder you want the scanned data file to be saved into. In this example, I have hit the Browse button and chosen the Desktop option


-
Clear what is currently in the File Name field and adjust the File name to a name you will recognize (I would try to keep it under 12 characters)
-
Add .CSV to the end of the file name

- In the Communication Parameters area switch the COM port value to the same number you saw in your Device Manager. In this example, it is COM4.
- Click on the OK button to save these values
- Immediately after this, the Optimus program tries to do an import.

- After a moment it will time out

-
Click OK and it will bring the Data_Read window back up. Hit Cancel
-
Fresh out of the box, the scanner battery is probably not charged. Go ahead and place the scanner in the cradle to charge the battery.

Using the Metrologic scanner
- Turn the scanner on by pressing the power button
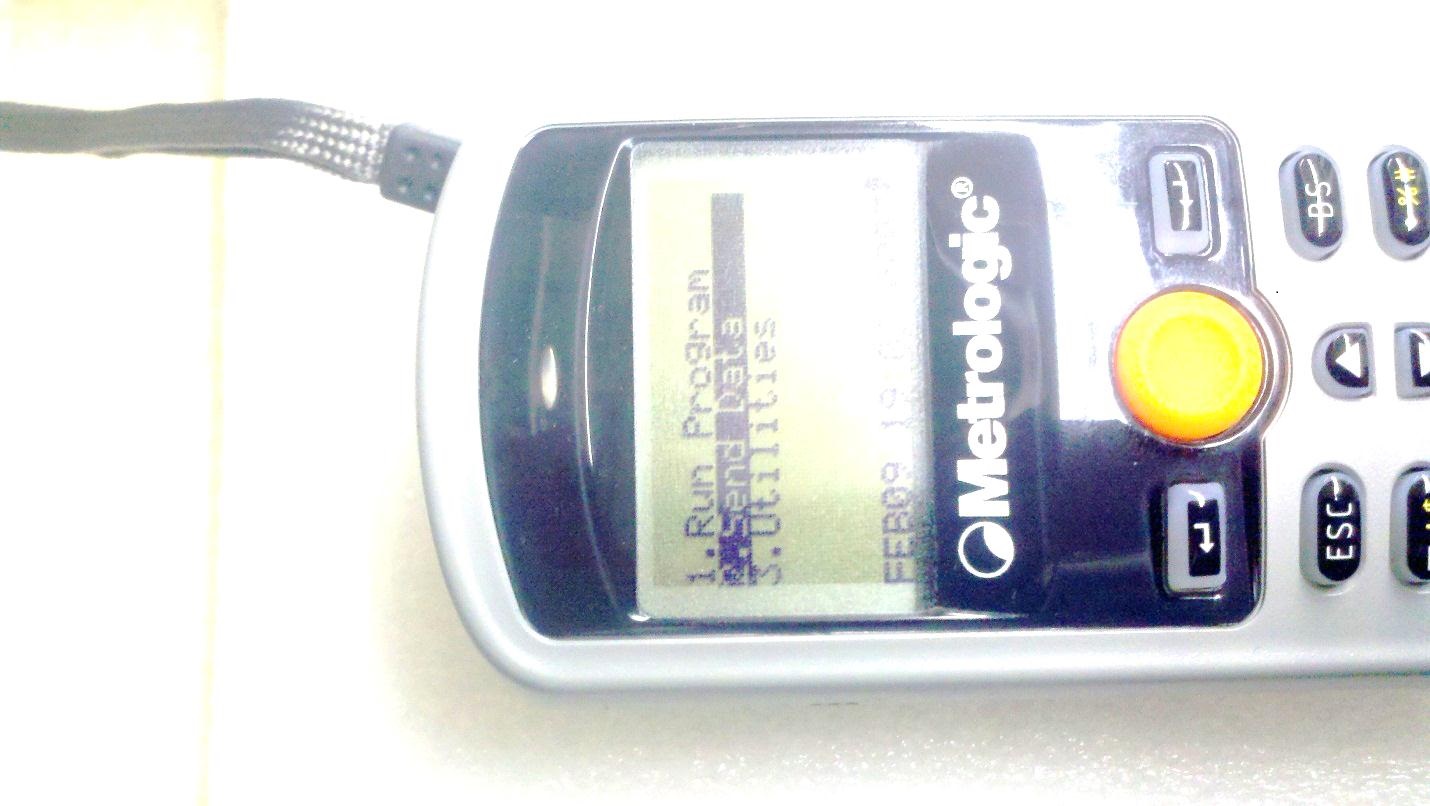
- The Main Menu displays
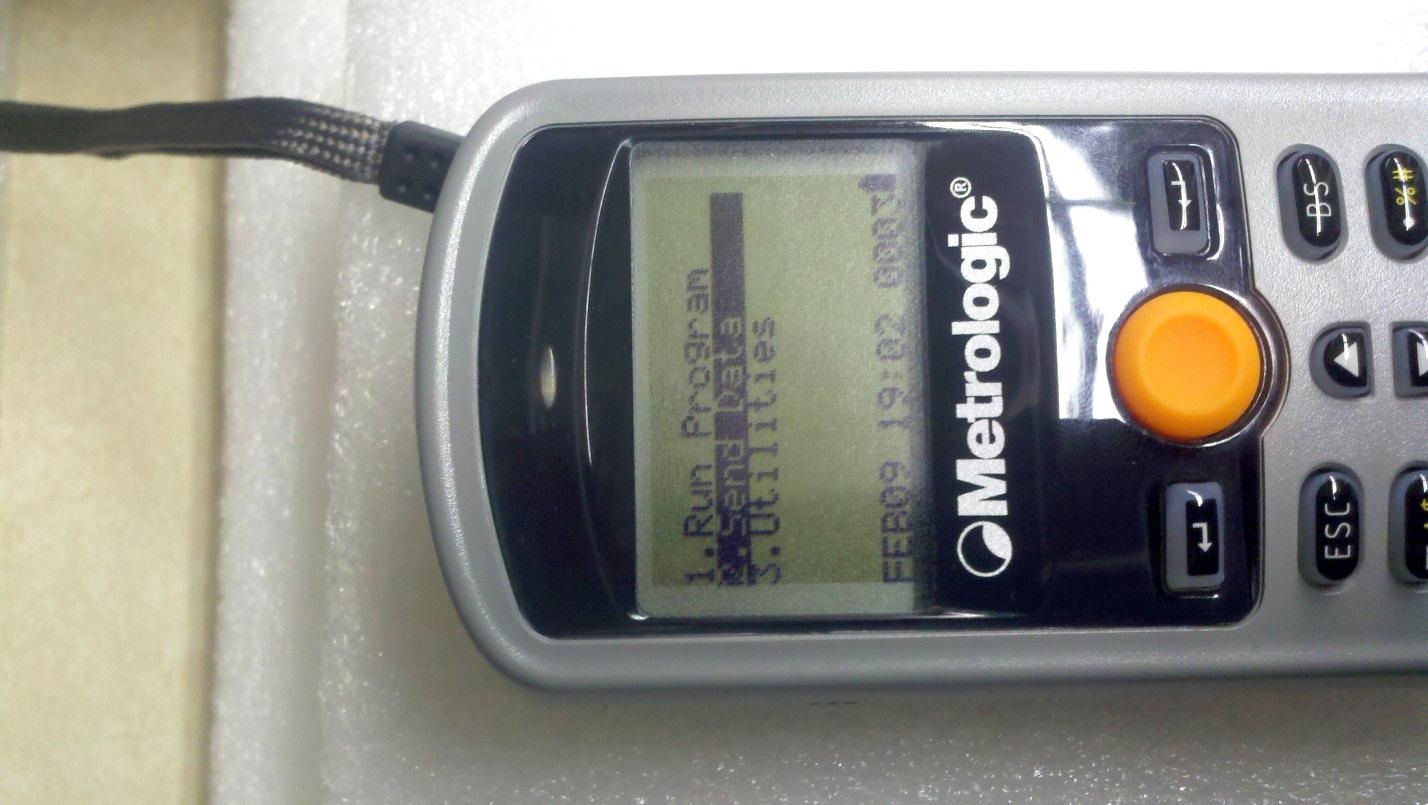
- Select 'Run Program' to begin scanning items
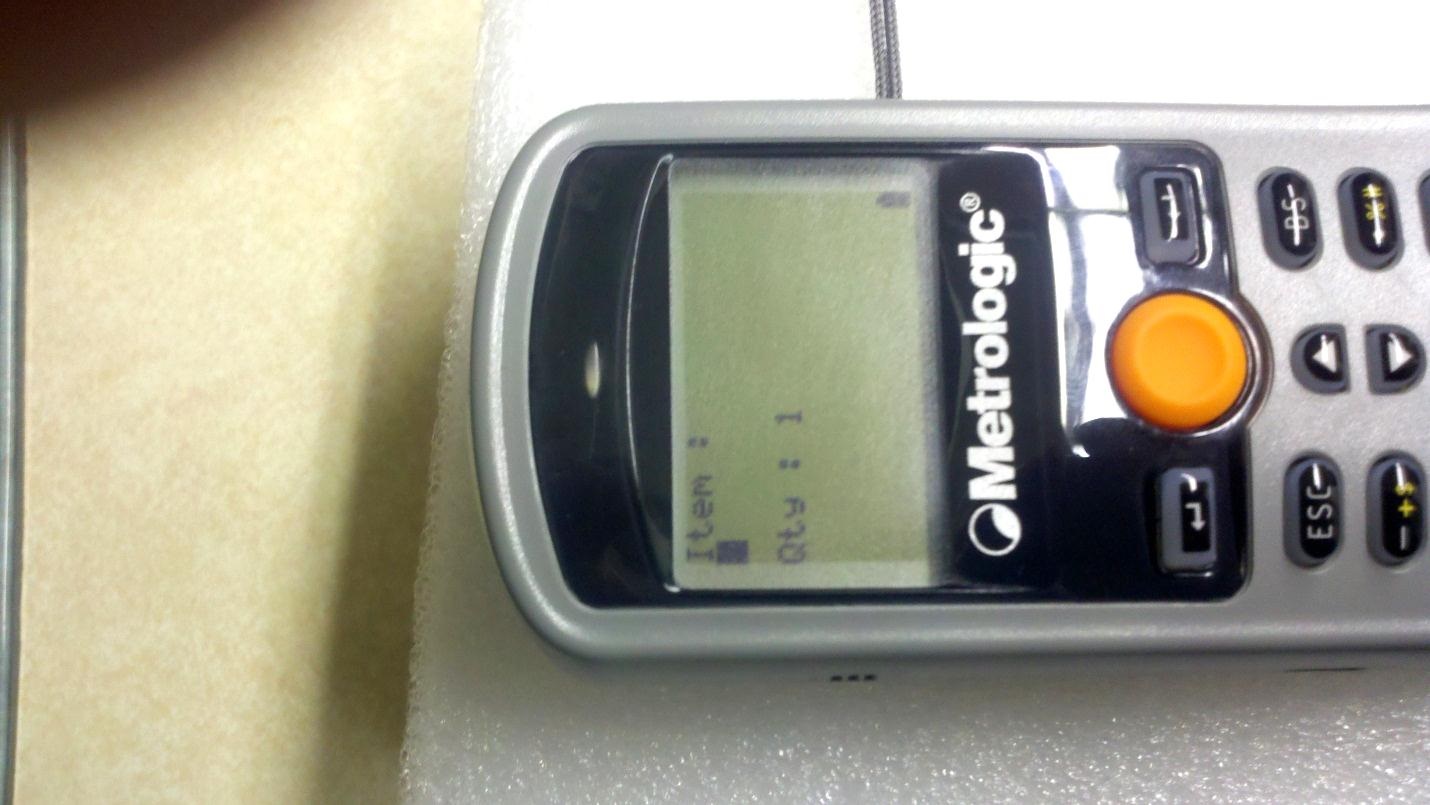
- This is the screen you will see when you are ready to scan
- With the scanner about a foot away from the barcode you want to scan, press the orange button in the middle of the scanner

- You will hear the scanner beep when it reads the barcode
- The SKU number is displayed and it is now requesting that you enter a quantity (default is 1)

- Use the number keys on the scanner to adjust to the correct quantity and press the Enter key
- The scanner saves that data and moves back to the main scan screen ready for the next item to be scanned
- When you are finished scanning items press the ESC (Escape) key. The scanner will go back to the Main Menu
Transferring the data from the scanner to a workstation
- On the workstation, click on Start > All Programs > Optimus Software > Utilities > Data_Read

-
Note the Directory where it is going to save the data file and the name of the file – adjust as needed
-
From the Main Menu choose the Send Data option
-
It will go through two screens
-
The scanner is now ready to send the data to the computer
-
On the workstation, press OK and you will have 10 seconds to place the scanner into the cradle
- The Data_Read utility will let you know data has been received
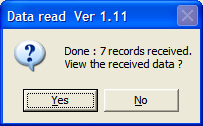
- Choose Yes and Notepad will open showing you the data that came from the scanner

- Close the file and reopen it with Excel. It should be displayed with SKUs in the A column and the quantities in the B column
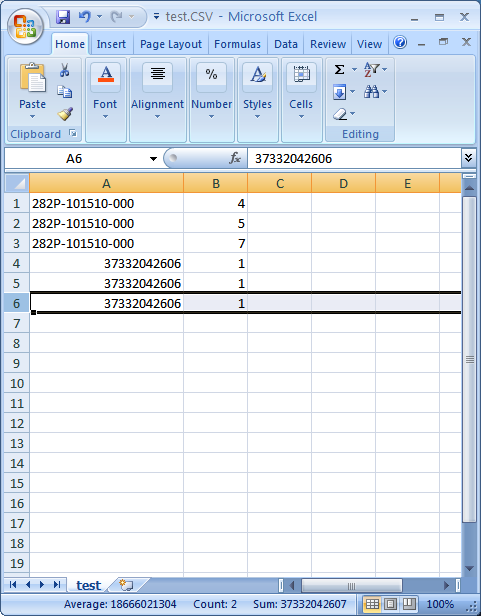
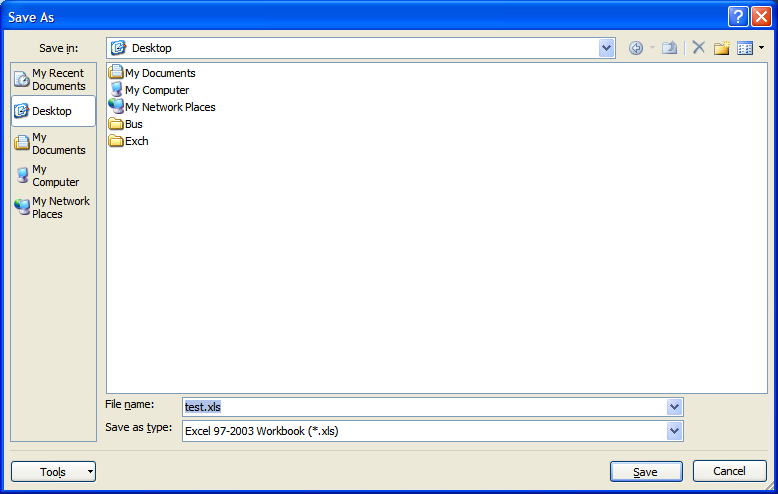
- Now we need to save the file as a .XLS file- (File Save As on older versions of Excel – Microsoft Office button\Save As on Office 2007 and newer)
Importing the data into Evosus
- Log into Evosus and choose the Administration tab (see your manager if your account does not have permissions) Expand the Inventory, then the Utilities folders
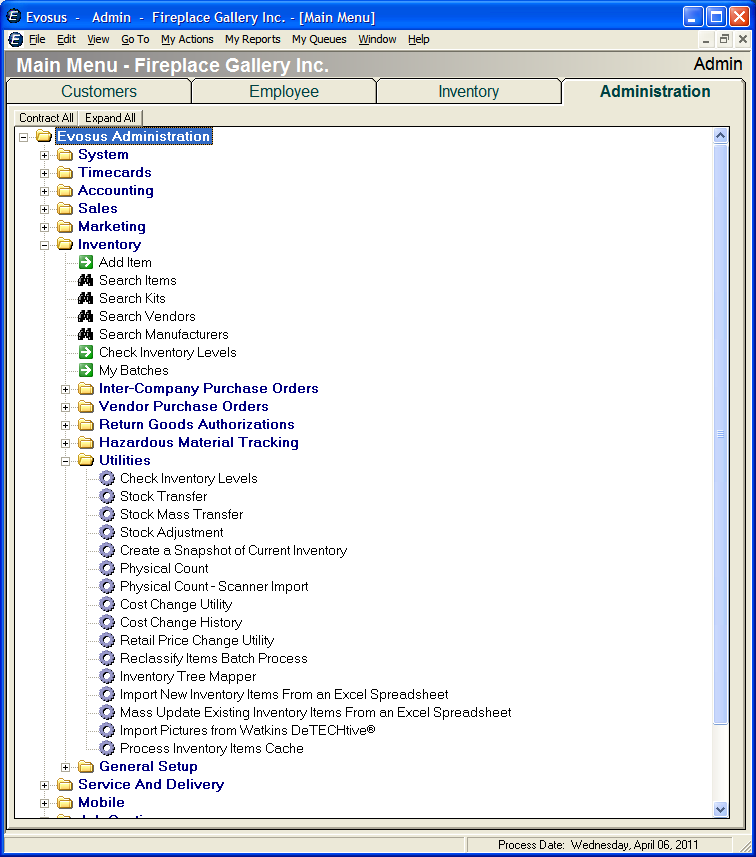
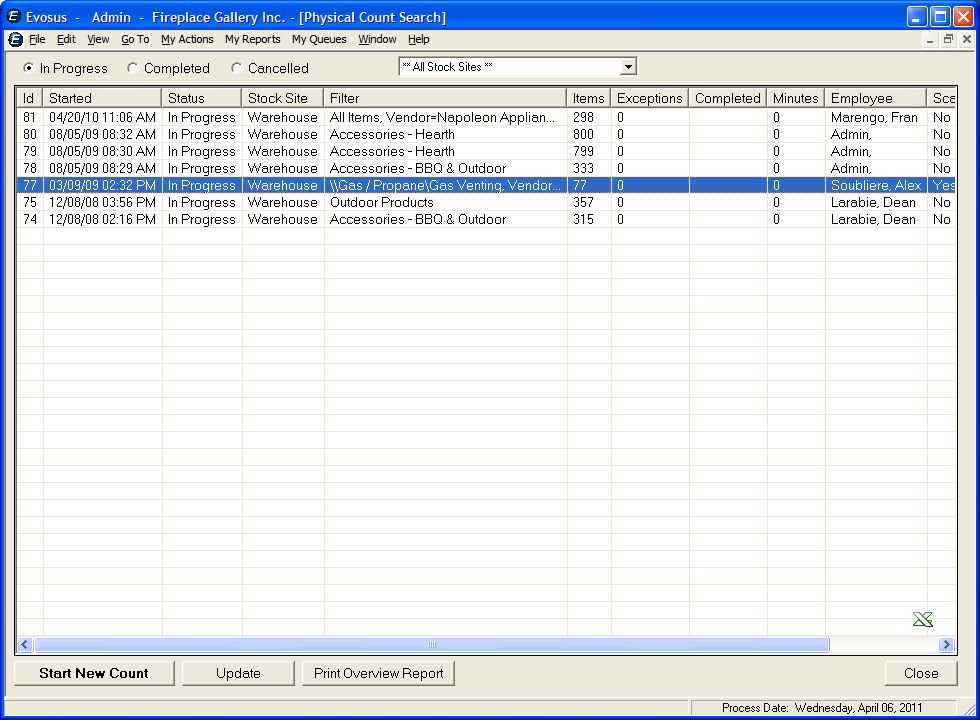
- Choose Physical Count (Not Physical Count – Scanner Import)
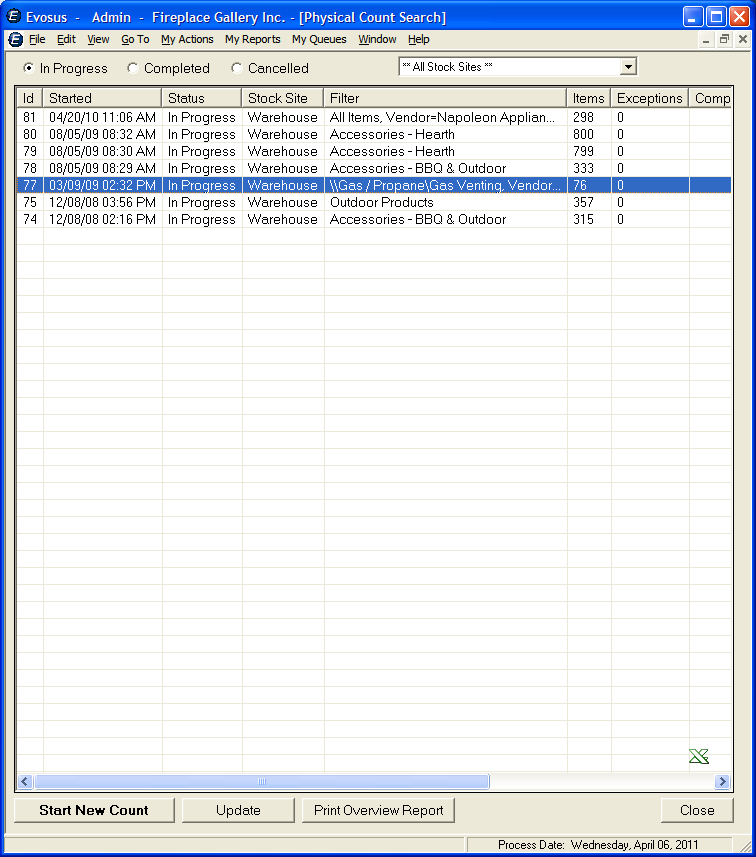
- You can either Start a New Count or update an existing one. For this example, I am Updating an existing count in Progress by selecting it and choosing the Update button- (this step may take up to 5 minutes depending on the size of the count)

- Click on the Imports option in the left column
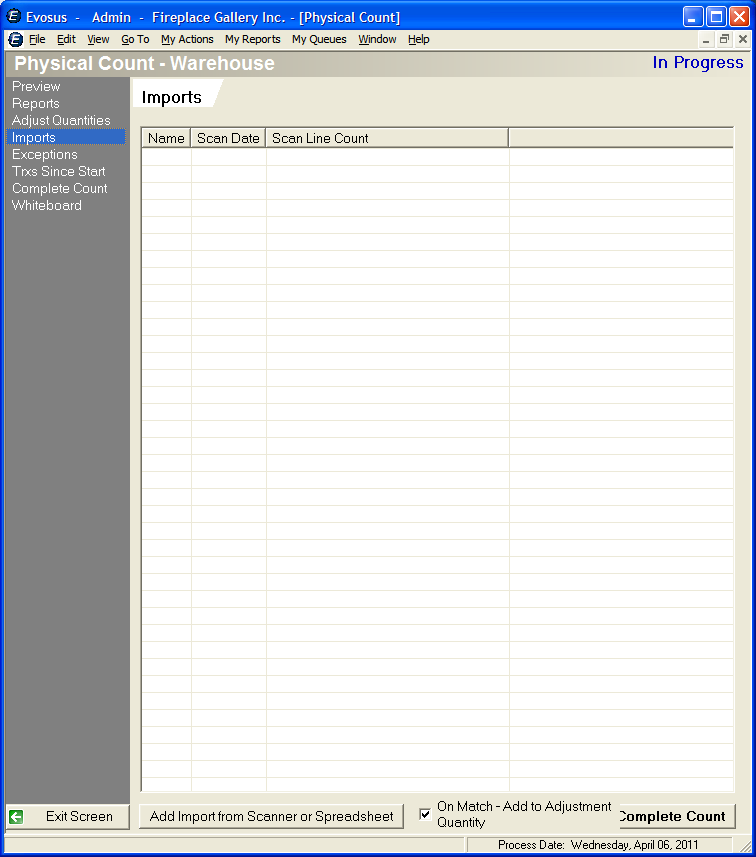
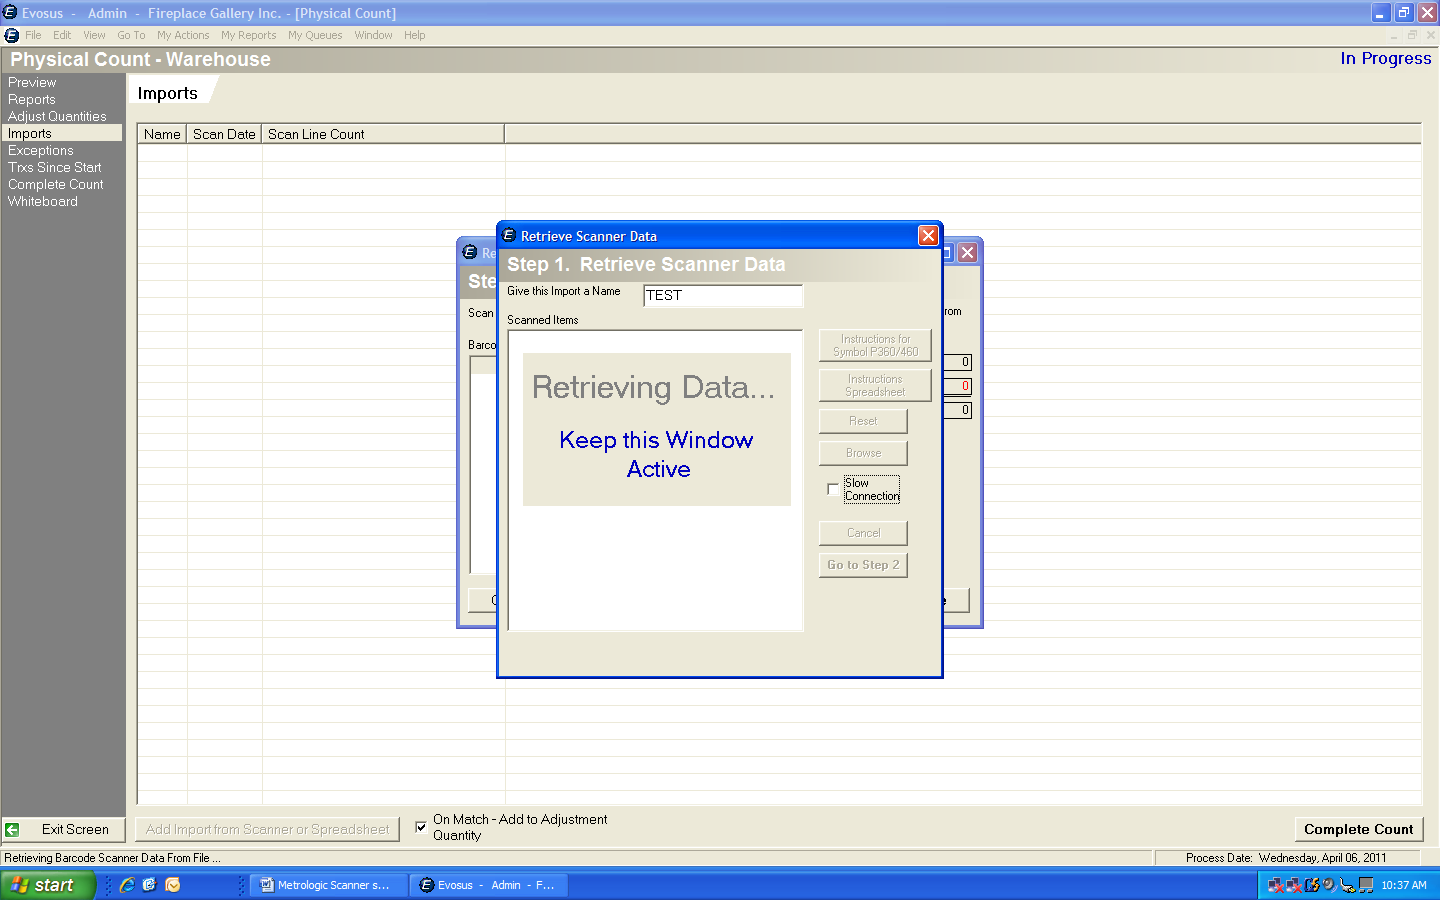
- Click on the Add Import from Scanner or Spreadsheet button at the bottom and two windows will open -
Retrieve Scanner Data

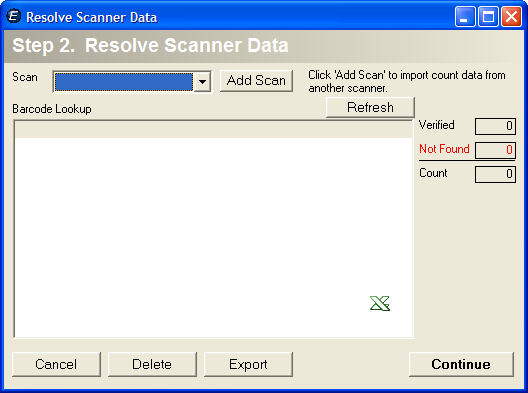
And Resolve Scanner Data
- In the Retrieve Scanner Data window, Give the Import a Name in the field at the top of the window
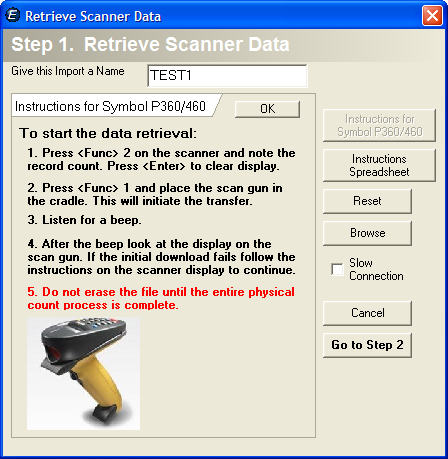
- Click on the Browse button

- Navigate to the location where you saved the Data from the scanner (.xls file) choose it and click Open. You will see two screens
And then the data
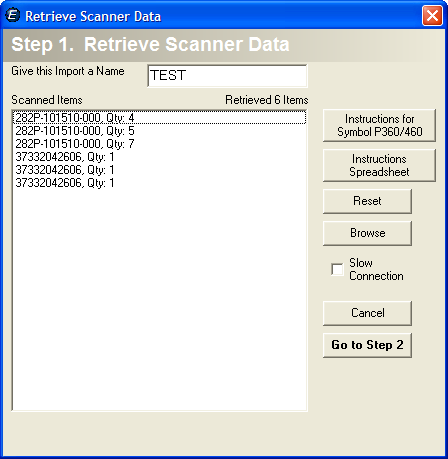
- Choose Go to Step 2
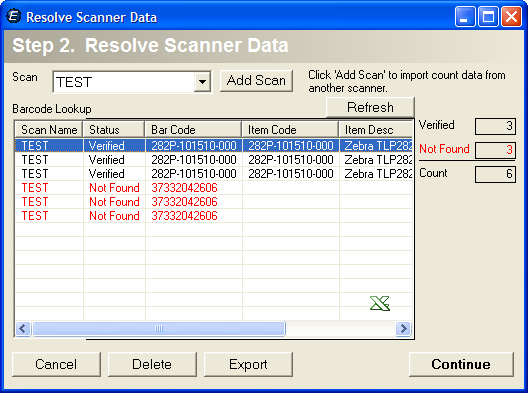
- Items in the scan that are recognized items in your Inventory database will show as a Status of Verified.
- Items not recognized will show as a Status of Not Found. (You will want to resolve any Not Found Items before continuing).
- Not Found Items can be removed by selecting them and hitting the Delete button
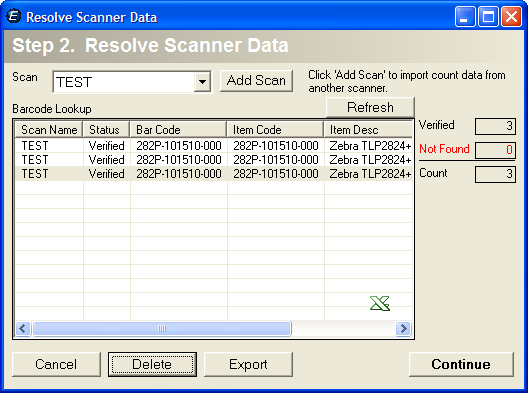
- Hit Continue and the Import will show
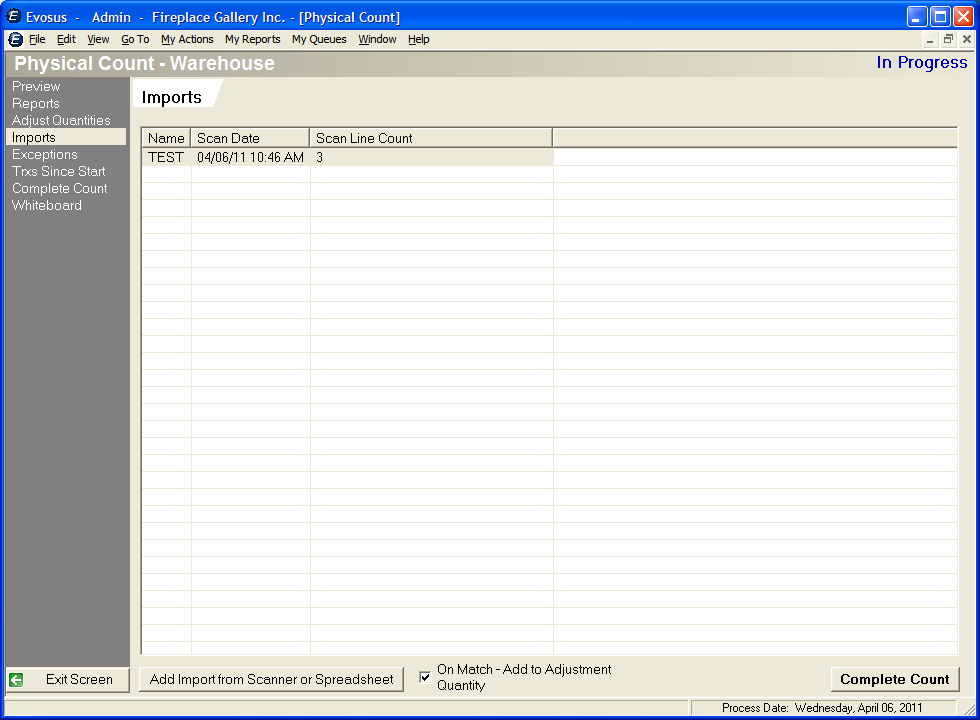
- At this point, if you are done, you can Complete your Count by clicking on the Complete Count button OR if you have more adjustments to make click on the Exit Screen button. In this example, I clicked on the Exit Screen button and it takes me back to the Physical Count Search window. You will notice on this screen that the physical count that I updated shows a new total number of Items.