
Zebra Printer Configuration
- Plug the power supply into the back of the Zebra printer – but leave the printer turned off
- Load the roll of labels into the Zebra printer
- Plug the network cable into the back of the printer
- Insert the Zebra Driver disk into a workstation on the network local to the Zebra printer

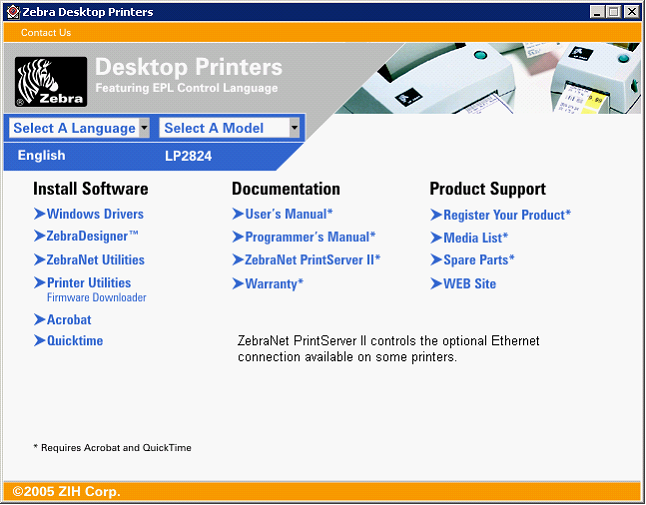
- Click on ZebraNet Utilities

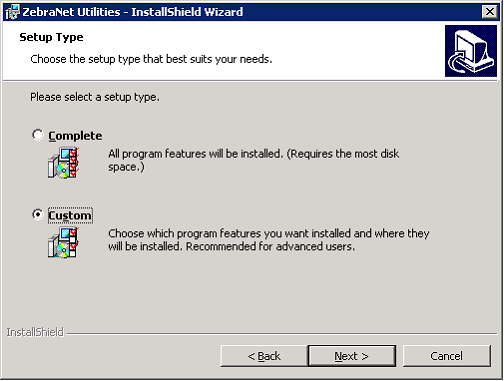
- Choose Custom & click Next
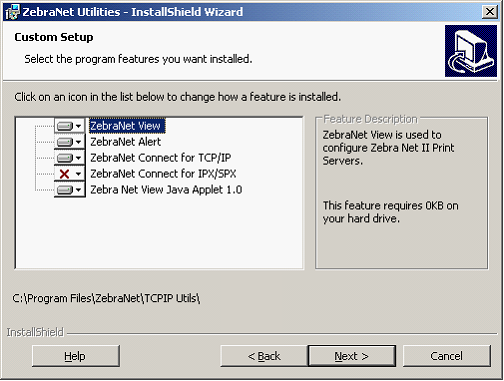
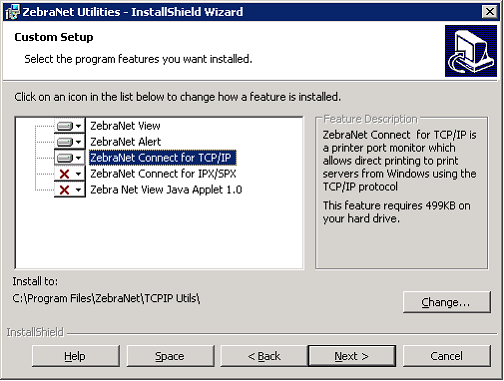
- Click on the down arrow to the right of the red X by “ZebraNet Connect for TCP/IP” & “Zebra Net View Java Applet 1.0” and choose “This feature, and all subfeatures, will be installed on local hard drive”.
- Click Next
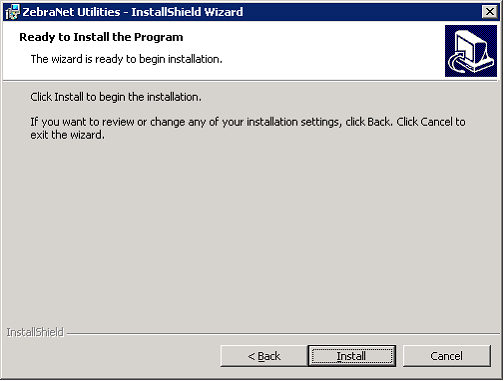
- Click Install

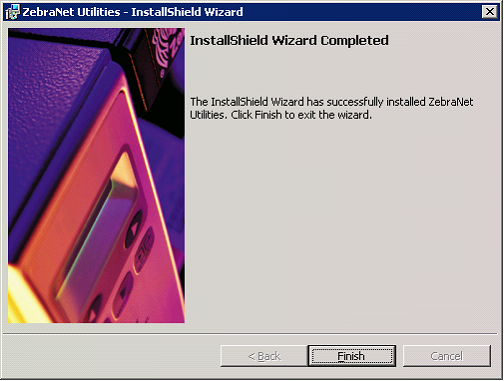
- Click Finish
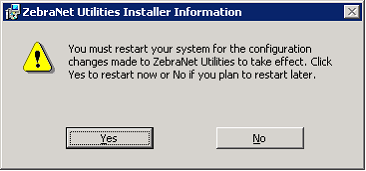
- Once the restart is complete & you are logged back in click on Start \ Programs \ ZebraNet Utilities \ ZebraNet View Java Applet
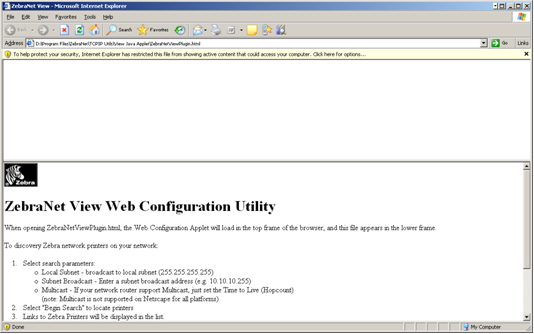
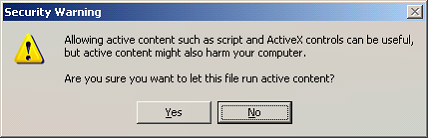
- A yellow bar may show up near the top of this window – click on it & choose Allow Blocked Content
- In the window that pops up click Yes
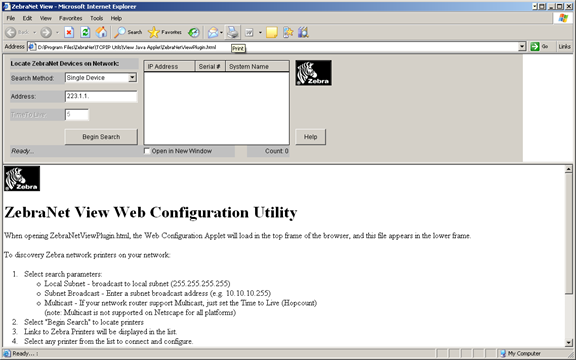
- Your window should now look like this

- Click on the down arrow to the right of Search Method and choose Single Device from the drop-down menu
- To print out a printer network configuration sheet, on the back of the printer, with a pen, press the little circular button. It should print out 4 labels with the configuration
- Back in the ZebraNet configuration, enter the IP address from the printer configuration printout into the Address window
- Press Begin Search
- The printer should now show up in the white window to the right of Search Method –

- Click on the IP address below the column header. IP Address and the lower portion of this window will change
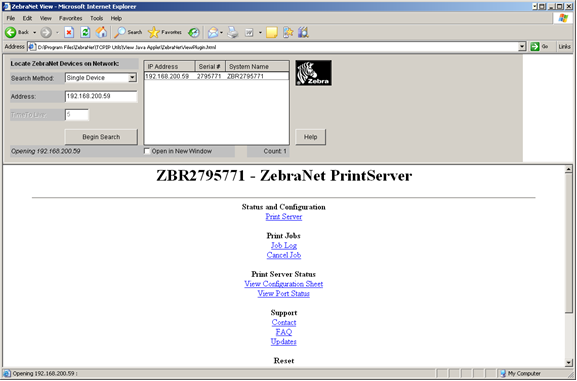
- In the lower portion of the window click on Print Server and a login window will appear. Enter Admin for the username and 1234 for the password
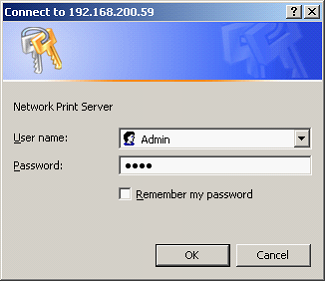
- Click OK
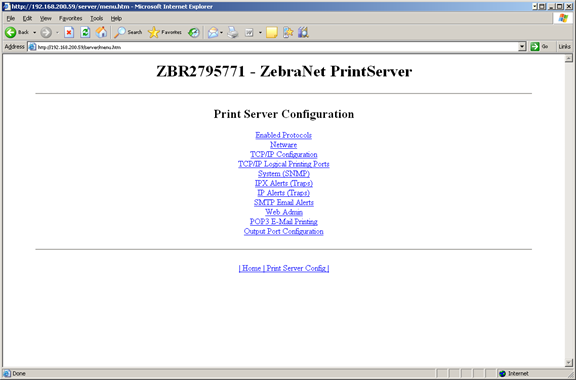
- Click on TCP/IP Configuration
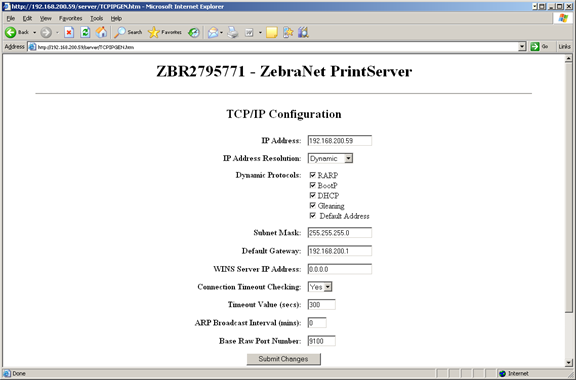
- Click on the down arrow to the right of IP Address Resolution and choose Permanent from the menu

- Click on Submit Changes at the bottom
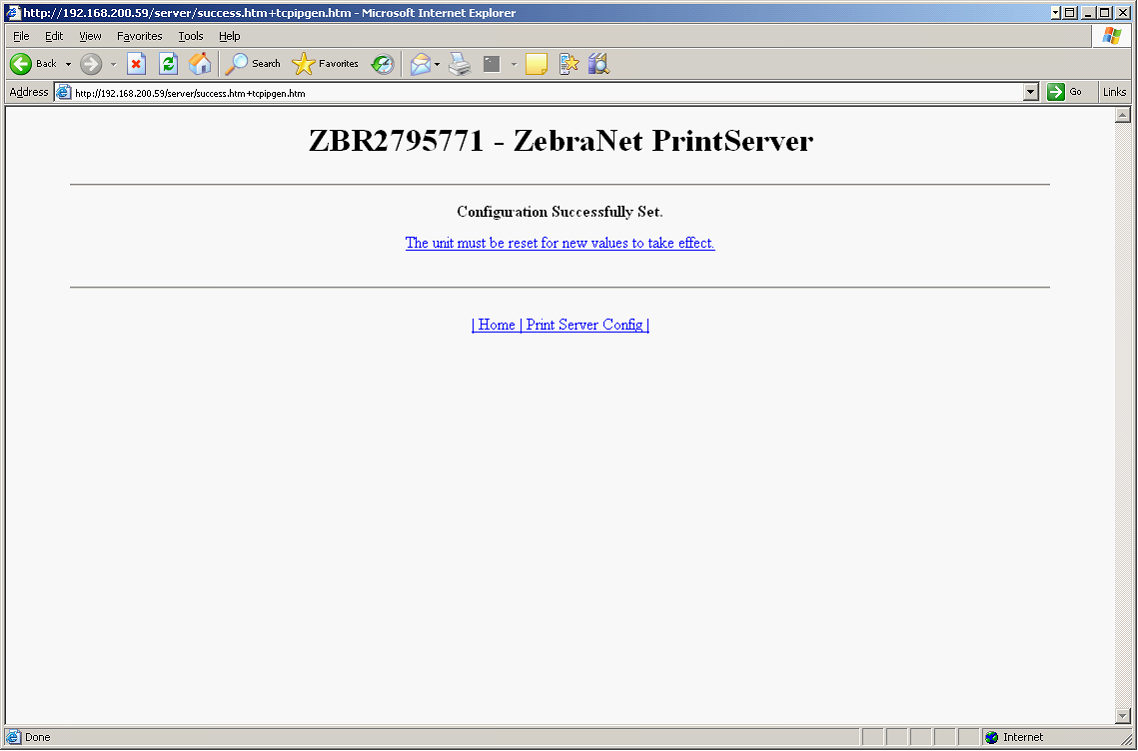
- Click on 'The unit must be reset for new values to take effect'
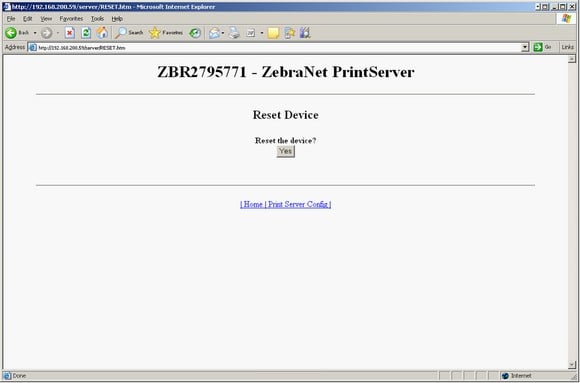
- Press Yes

Installing the Printer on the Main Server
- Close the above window
- Wait 60 seconds
- Place the Zebra Driver disk into the CD-ROM drive on the main server (close the autorun window that may come up)
- Login as Administrator
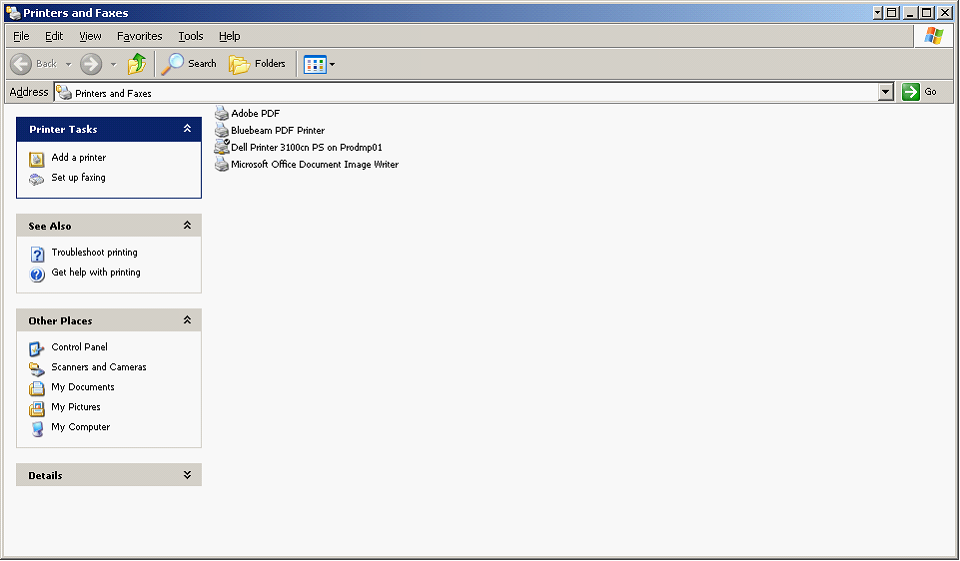
- Click on Start > Settings > Printers and Faxes
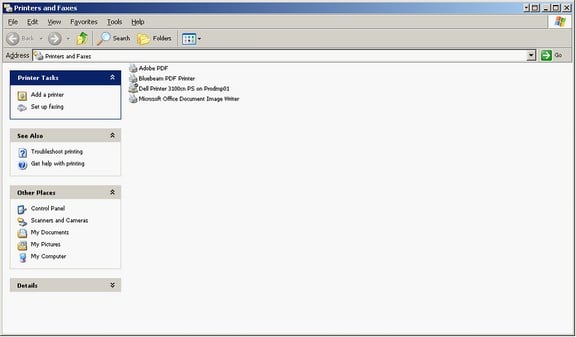
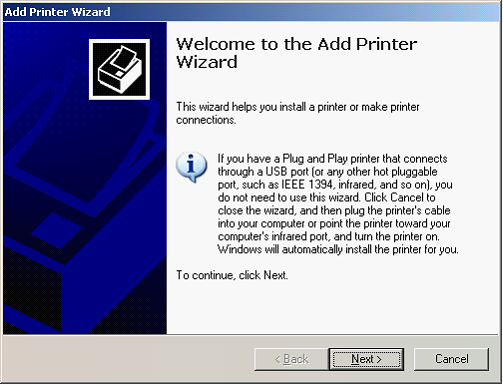
- Double click on Add a Printer
- Click Next
- Click Next

- Click on Create a new port, and from the drop down to the right choose Standard TCP/IP Port
- Click Next
- Click Finish

- In the above window, click on the Have Disk button
- Click on the Browse button

- Press the My Computer icon to the left

- Highlight the CD-Rom drive (Zebra Icon), and click Open

- Double click on the Driver folder

- Press Open

- Press OK
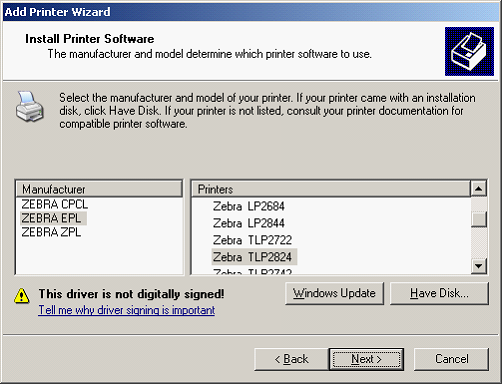
- In the left side window, choose Zebra EPL. In the right side window, choose Zebra TLP2824 and click Next
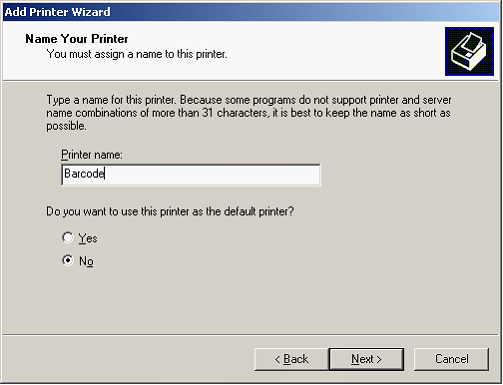
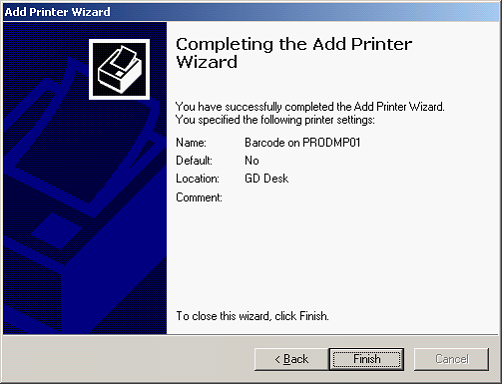
- Name the printer “Barcode” and press Next
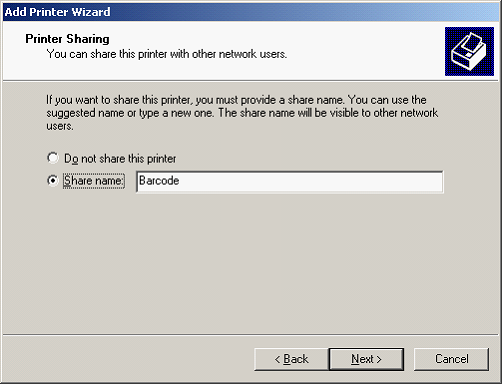
- Share name should be “Barcode” as well. Click Next

- Enter a Location if you want and press Next
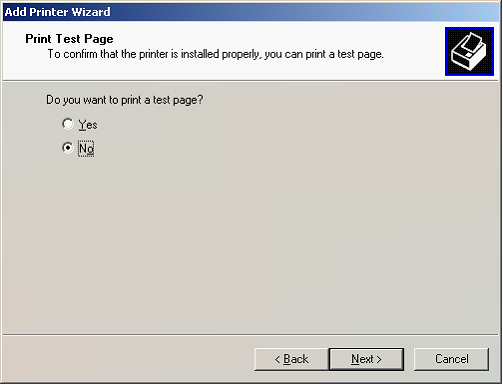
- DO NOT PRINT A TEST PAGE. Click Next
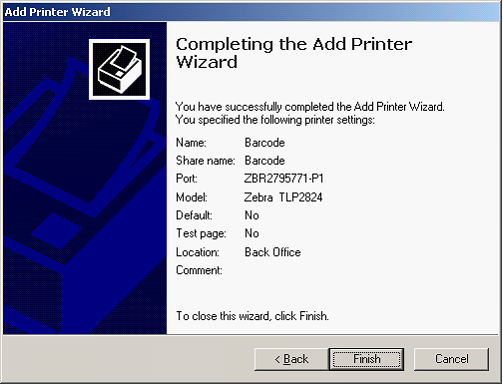
- Click Finish

- Press Continue Anyway
Installing the printer on your Terminal Server or Workstation
If you don’t use a Terminal Server, the process is the same
- Log onto the computer (Terminal Server or workstation) as Administrator
- Click on Start > Settings > Printers and Faxes
- Double click on Add a Printer
- Click Next
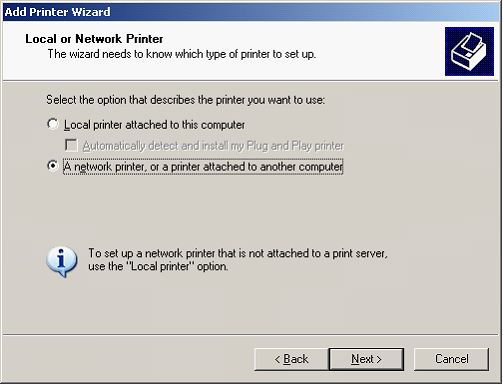
- Choose Network printer, and click Next

- Choose Connect to this printer, and click Next
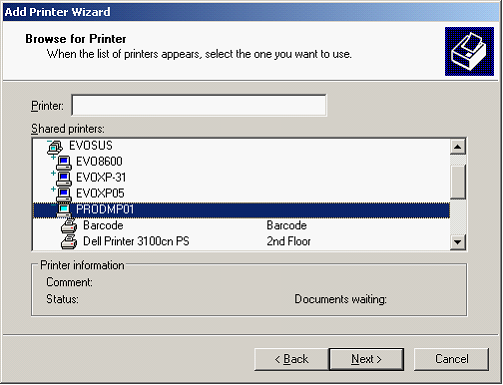
- In this list of computers, double click on your servers name and the available shared printers should show up
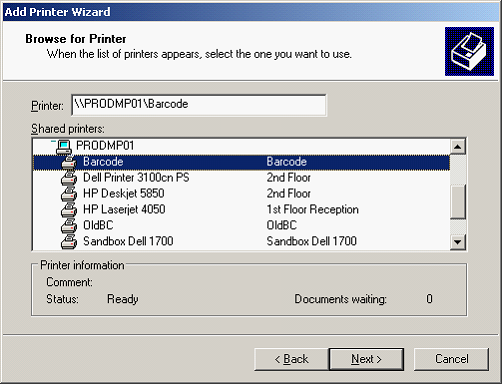
- Click on Barcode to select it and click Next
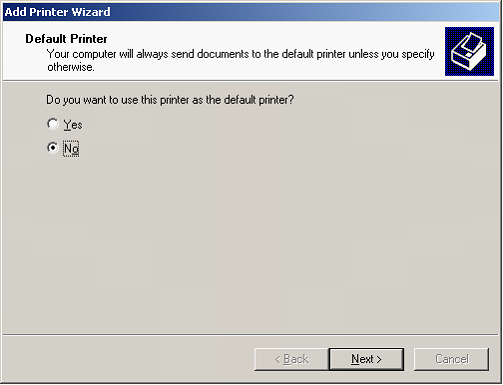
- Click Next
- Click Finish
- The Barcode printer should now appear in your printer list
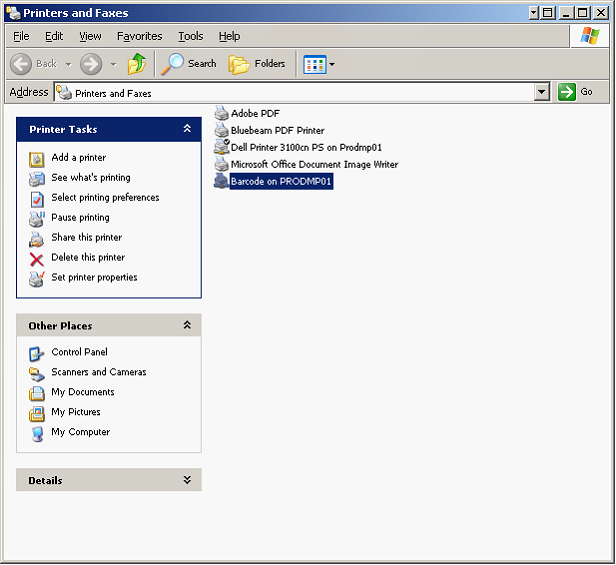
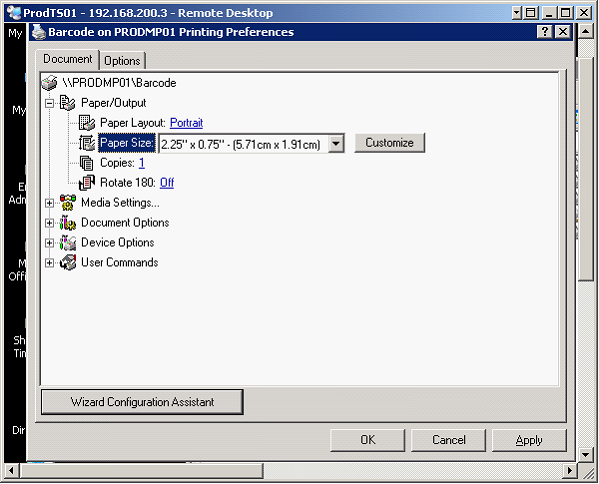
- Right click on the printer and choose Printing Preferences

- Click on the plus sign to the left of Paper/Output to expand the options
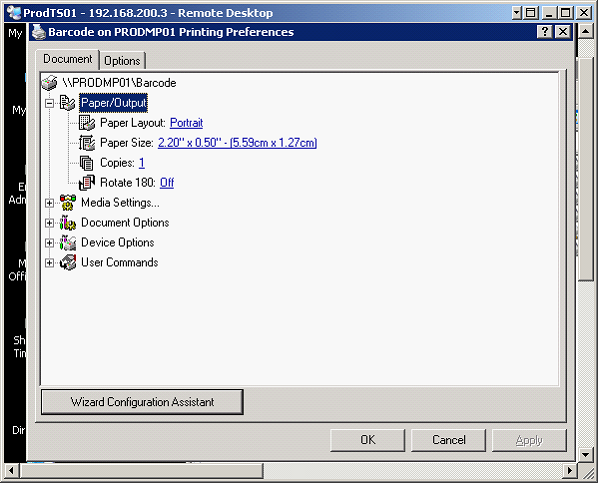
- Click on the blue text to the right of Paper Size. Then on the down arrow to the right & choose 2.25 x 0.75 – (5.71cm x 1.91cm)
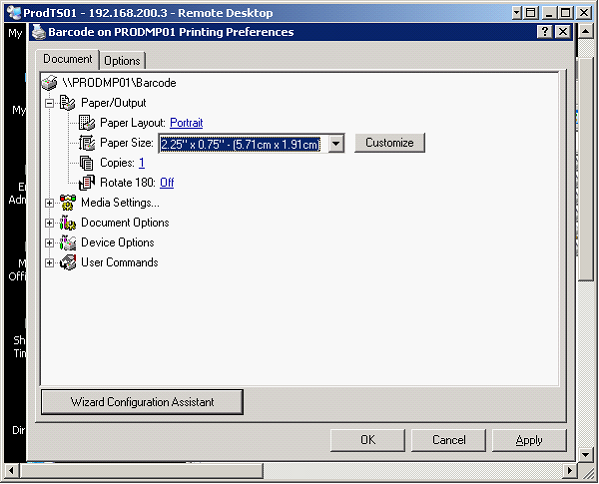
- Click on the Customize button to the right
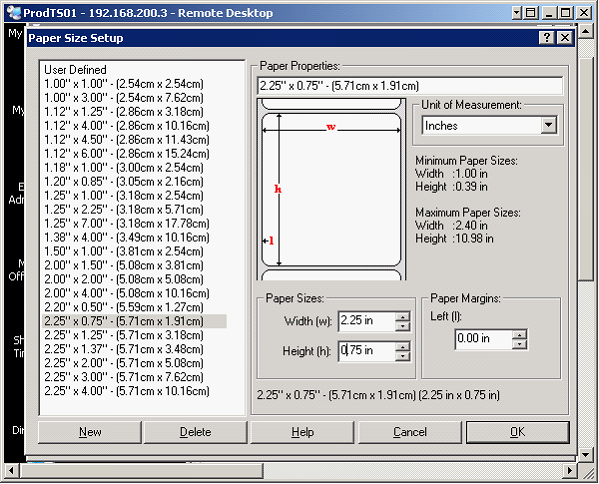
- Change the Height dimension from 0.75 to 1.05

- Click OK

- Click OK
- Close the Printers & Faxes window
- Double click on the Evosus icon and enter the Administrator username & password
- Click Login

- Click on the Administration tab and double click on System Parameters

- Click in the grid to the right of Label Paper Size Code, erase whatever is there & enter 279
- Click on the Printing folder in the column on the left side of the screen
- Change the “Barcode Label Printer Top Margin” to 15. Change the “Barcode Label Printer Left Margin” to 30
- Click the Close button on the bottom right and then exit Evosus
- Double click on the Evosus icon and enter the Administrator username & password
- Click Login
- Click on the Inventory tab and choose the item you want to print a barcode for
- Click on the Barcode button in the upper right area
- Enter the number you want to print & click OK. There should be only a single label showing in this screen regardless of the quantity you asked it to print. The quantity should show up in a window near the top right. In this case, 100 shows up as 1/100 (you are seeing label 1 of 100)
- Press Print in the upper left
- Click Print