
Bixolon SRP-E770iii Installation:
Physical Setup
Step 1: Plug your Ethernet cable into the Ethernet port on the back of the printer-
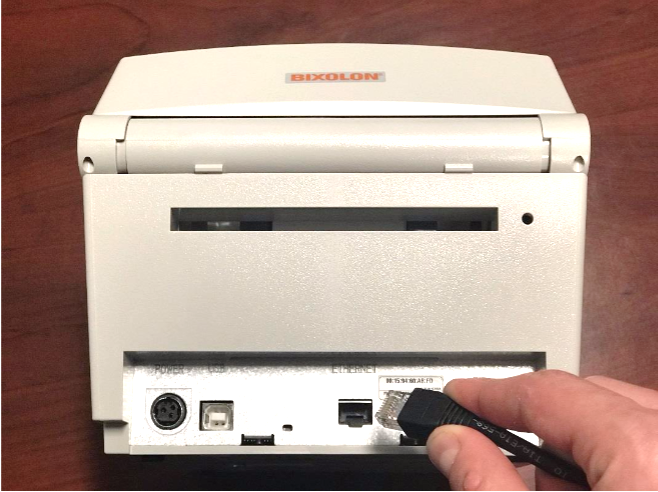
Step 2: Plug the power connector into the back of the printer-
Step 3: Load the roll of labels into the printer so that the labels are on the top as they come out of the printer
Step 4: Turn the power on and give the printer 30 seconds to warm up.
Step 5: The printer will automatically grab an IP address once it is plugged into your network and turned on.
Printer Software Installation
Step 1: On a workstation, log into Windows with an Administrative account.
Step 2: Insert the driver disk that came with your Bixolon 770II printer. (If it doesn’t autoplay, go ahead and start it)-
Step 3: Load the Bixolon Network Configuration Tool from the Bixolon installation disk and hit refresh to see the IP address of this printer on your network
Step 4: Adjust the IP address as needed and set it to Manual rather than DHCP. Save settings
Step 5: Start the installation by double-clicking on the Installer.exe (if you get a User Account Control warning message, choose Yes to continue)-
Step 6: Choose the SRP-E770iii printer driver
Step 7: Set the name of the printer to “[1]Barcode Printer” (printer name needs to have the word “Barcode” in it)
Step 8: When choosing the PORT, use Standard TCP/IP and enter the IP address you obtained from the Network Configuration Tool. It will come up with a window saying the device was not found.
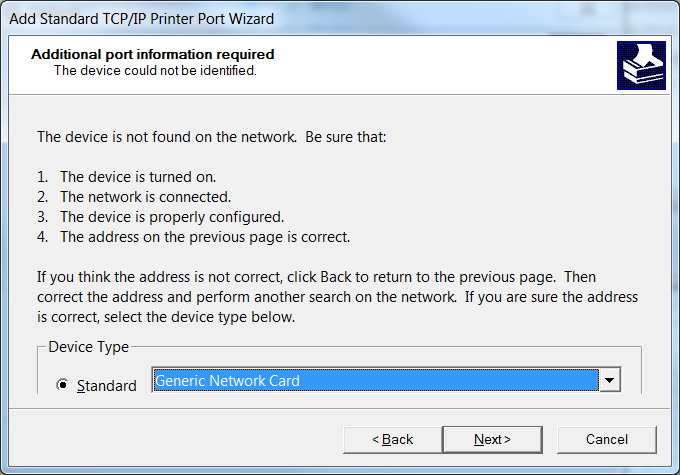
Step 9: Ignore this and continue by clicking Next-

Step 10: It will show you a configuration window. Click Finish. This brings you back to the Printer Options window
Label Configuration
Step 1: Open your list of Devices and Printers (Control Panel) and the Barcode printer should now be listed
Step 2: Right click on the printer and choose Printer Properties-
Step 3: Click on the Preferences at the bottom-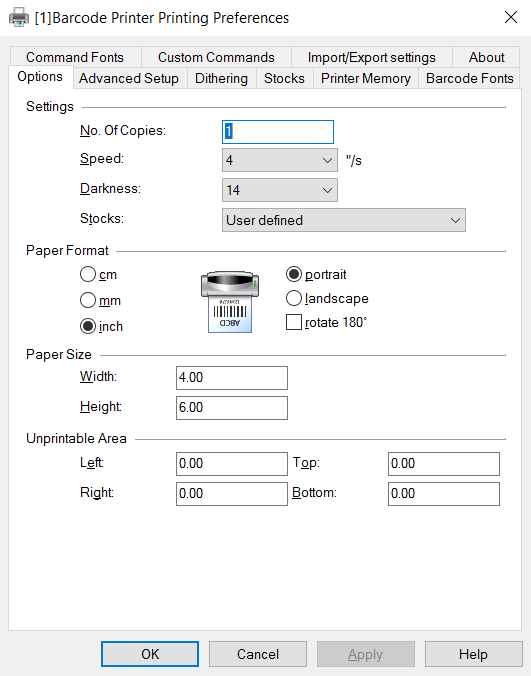
Step 4: Click on the Stocks Tab at the top

Step 5: Scroll down to select BIXOLON 2.5x1.0(inch) and hit Change
Step 6: Adjust the Label Width to 2.4 and click OK
Step 7: Click on the Options tab
Step 8: In the Stocks field, change the printer from using the User-defined stock to Bixolon 2.5x1.0 stock that you adjusted

Step 9: Click OK to go back to the Printer Properties screen
Step 10: Click on the Advanced tab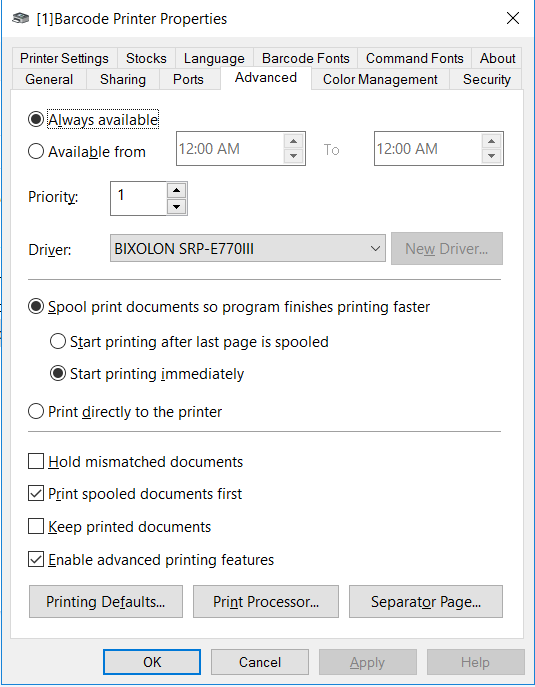
Step 11: Click on the Printing Defaults… button at the bottom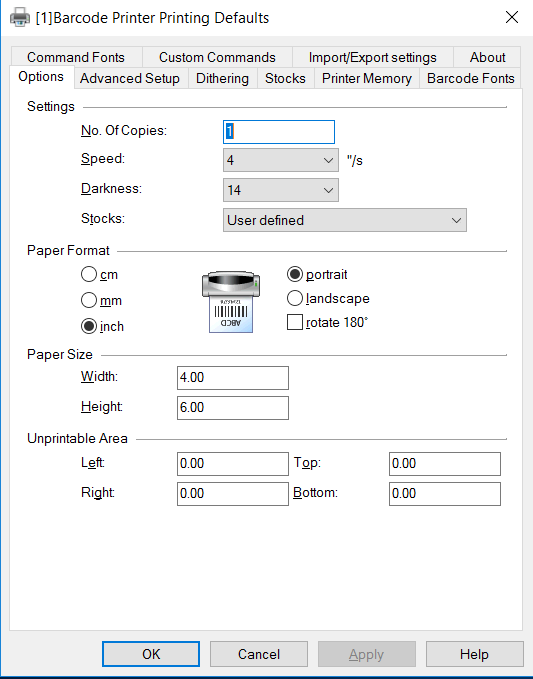
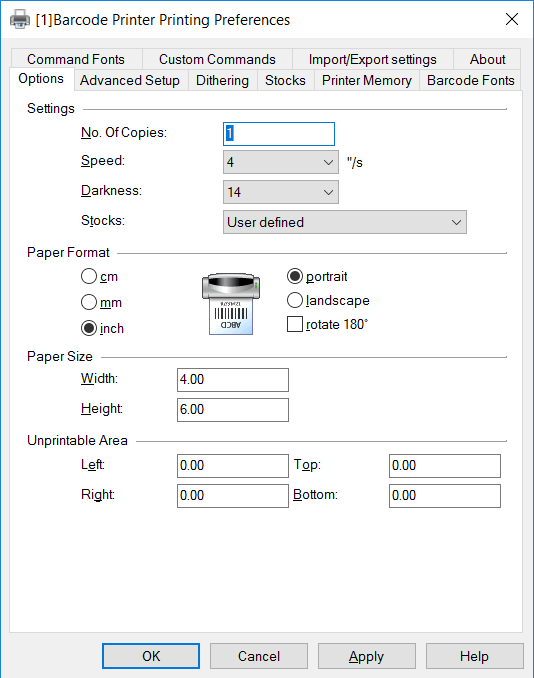
This screen should look familiar. I’m not sure why they have the same thing in two places but they do – and they both must be adjusted.
Step 12: In the Stocks field, change the printer from using the User-defined stock to Bixolon 2.5x1.0 stock that you adjusted
Step 13: Click OK
Step 14: Click OK again to close the Printer Properties window
Evosus Settings
Step 1: Log into the Evosus software with an Administrative account.
Step 2: Click on the Administration tab-
Step 3: Expand the System folder, then Evosus Defaults-
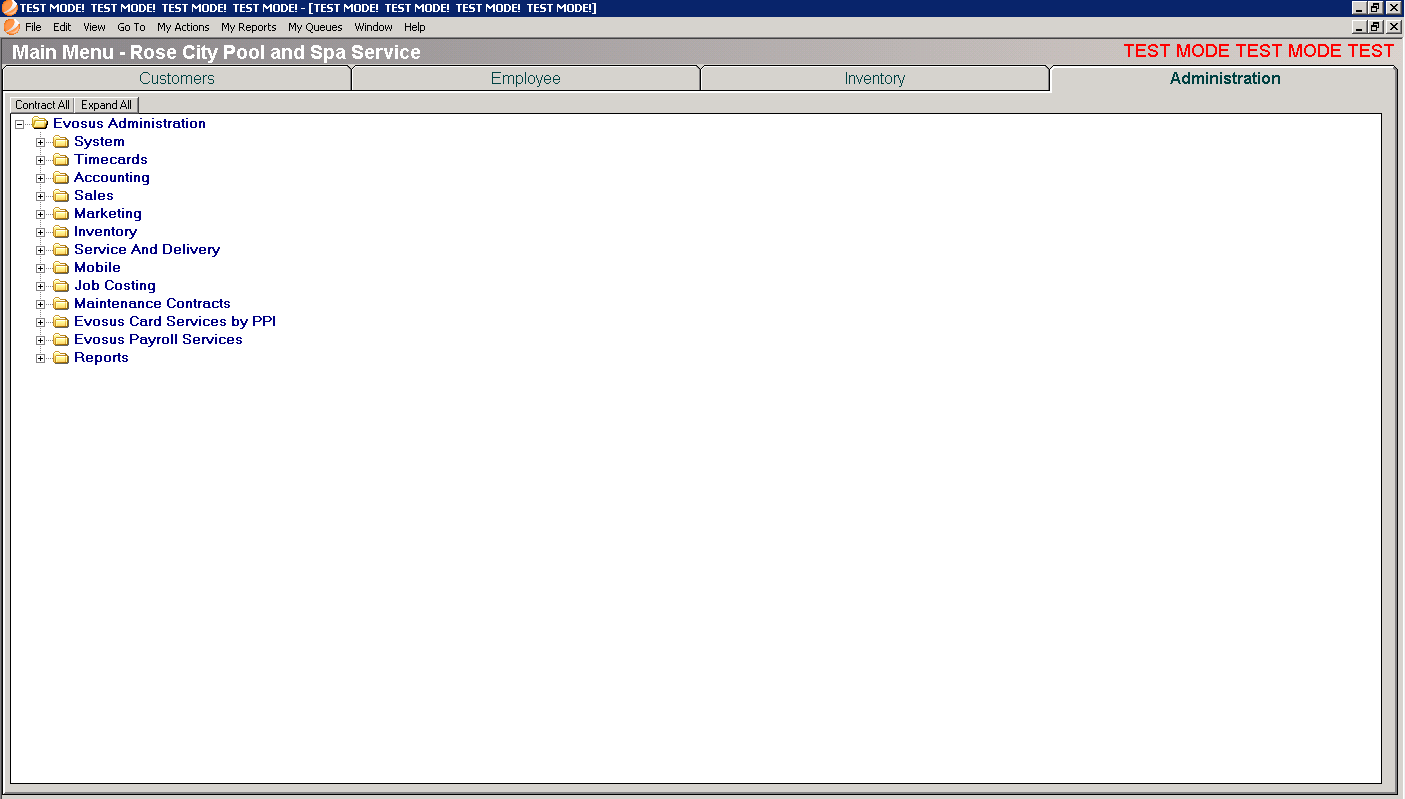
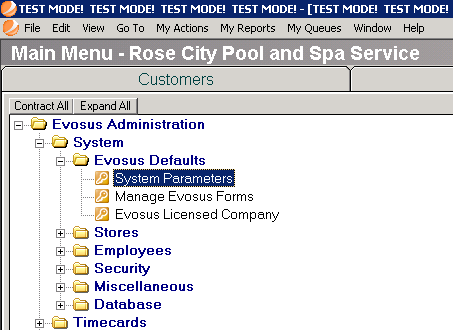
Step 4: Double click on System Parameters-
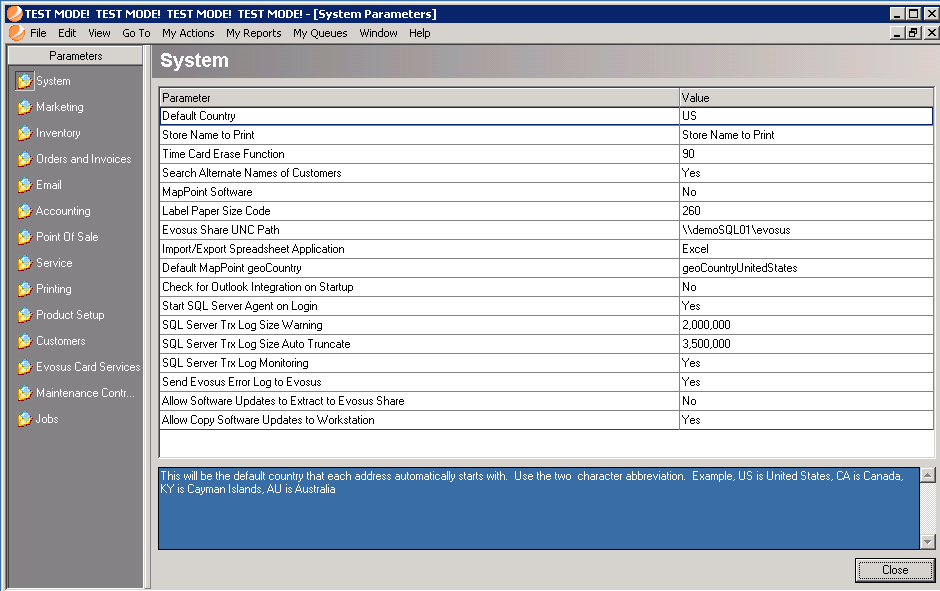
Step 5: Adjust the Label Paper Size Code field to 260-
Step 6: In the column on the left, choose Printing-
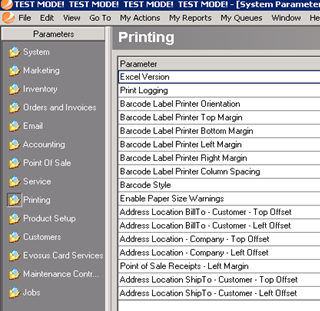
Step 7: Adjust the Barcode Label Printer Top Margin to 20 \ the Barcode Label Printer Bottom Margin to 10 \ the Barcode Label Printer Left Margin to 200 \ Barcode Label Printer Right Margin to 10.
Step 8: Make sure that the Windows Users Default Windows printer is set to a standard Network Laser Printer – NOT a receipt printer, a Multifunction printer, or this barcode label printer.
Step 9: Click Close
Printing Barcode Labels
Step 1: Choose the inventory item and click on the Barcode button
Step 2: Enter the quantity you want to print
Step 3: No need to skip any labels so click OK
Step 4: If this is the first time you’ve printed to this newly installed printer you will receive a message asking you to select a printer. Click OK
Step 5: Click on the Print Options tab
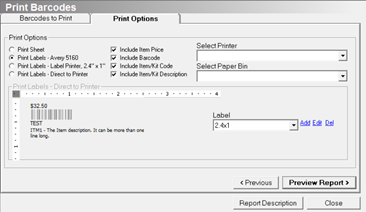
Step 6: In the upper right drop-down select your barcode printer (Select Paper Bin field will auto-fill once the printer is selected)
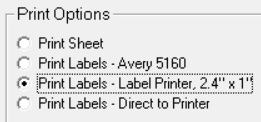
Step 7: Choose Print Labels – Label Printer, 2.4”x1”
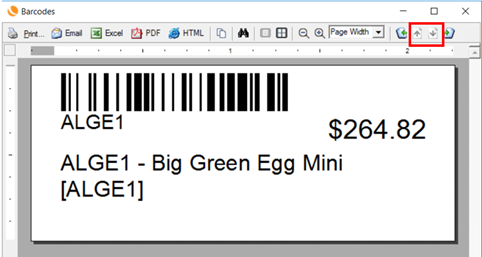
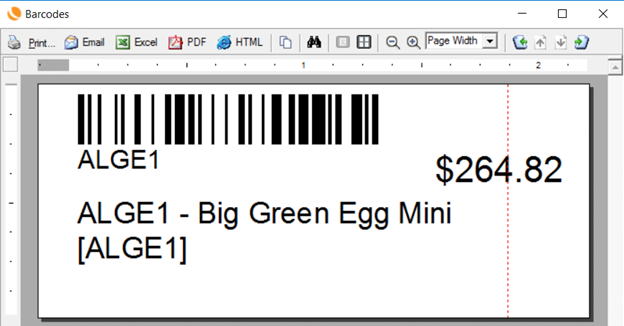
Step 8: Click the Preview Report > button
- See the Troubleshooting section at the bottom if your preview shows a Red dotted line on the right-hand side of the label preview
*Note: there is no Red dotted line down the right and side and the arrows in the Red rectangle below are grayed out [indicated correct formatting]
Step 9: Hit Print
You are ready to print barcodes
Troubleshooting Steps
Red Dotted Line on the right-
Step 1: Because the Users Default Windows Printer will affect this, the First step is to Double check that the Windows Users Default Windows printer is set to a standard Network Laser Printer – NOT a receipt printer, a Multifunction printer, or this barcode label printer.
Step 2: Try adjusting your Evosus System Parameter – Label Paper Size Code to 263 or 256 and retest
Step 3: Try adjusting your Barcode Label Printer Left Margin to 100