
Set up check writing - Non-MICR
-
Go to Administration > Accounting > General Setup > Check Writing Setup.
-
Check Type: Select the check type that you use. There are many places you may order checkbooks from online. Most clients find that if they select the check type for Check on Top or 3 to a Page for Quickbooks stock, these work perfectly.
-
Check on Top
-
Check in Middle
-
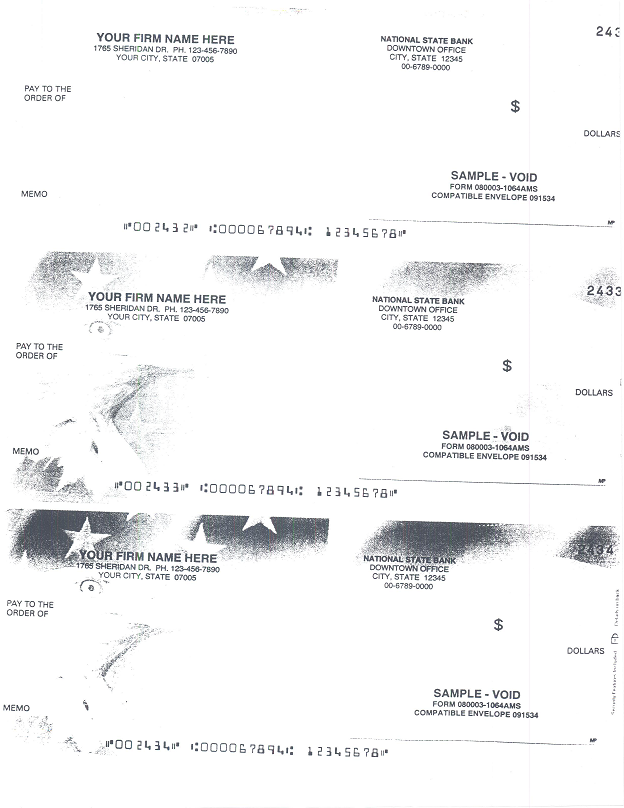
Three checks in a row
Examples
Check on Top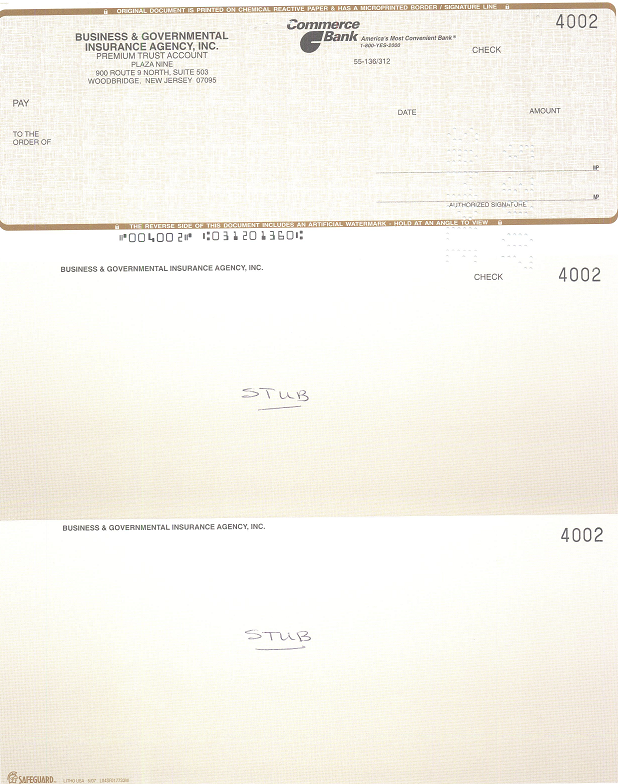
Check in Middle

Three Checks in a Row
- Adjust the position of the fields on the check.
- Left or right: If you put a negative number in a field, that will move the field LEFT on the check. If you put a positive number in the field, that will move the field RIGHT on the check.
- Click OK.
Set up check writing - MICR Checks
MICR Check Setup is done via the Banking tab of a bank reconciliation account (generally checking or savings).
-
Go to Administration > Accounting > General Setup > Chart of Accounts.
-
Create a new bank account or open an existing one.
-
Open the Banking tab.
-
Check the "Warn on Duplicate Check Number Entry" box if you want Evosus to warn you of duplicate check numbers in the Print Checks screen
-
Enter the Routing Number for this account. This number should be 9 digits.
-
Enter the Account number for this account.
-
Enter the Bank Name for this account, such as Bank of America or US Bank.
-
Enter the Bank Account Name. This is the name you're known as with the Bank. This may or may not be the Company Name you have set up in Evosus.
-
Enter the Bank Information. These are the numbers separated by the slash and are referred to as "the fraction". The fraction is used to identify your bank. Example: 25-7025/3250.
-
Enter your Business Address.
-
Click OK to save.
Related Video Content:
In this video, we cover how to set up your Check Type and adjust where the check fields are located on your checks.