
Add Default Bill To Address
- Go to Administration > Accounting > General Setup > Default Bill to.
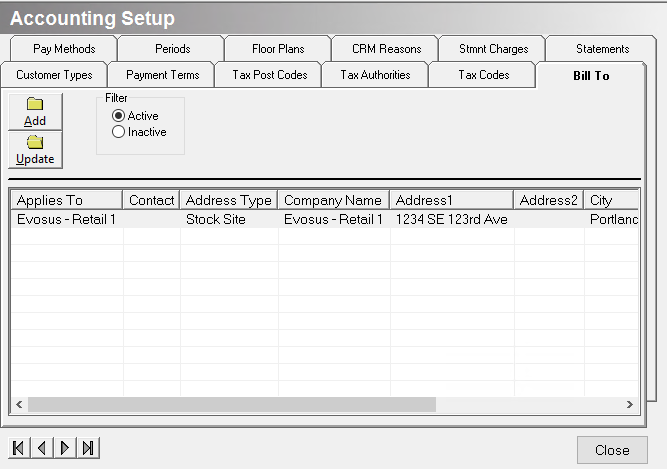

3. Select the Store(s) or Department(s) the bill to address applies to. The address can apply to All Stores or a Specific store. If you choose to apply an address to a specific store, select the store from the pull-down menu. Helpful Hint: Choosing "Specific Store" will override any "Applies to All Stores" option that is in the database.
4. Select the contact employee for the Default Bill To address. This employee's name will print on the Purchase Order under the Bill To information.
5. Select whether you would like to use an existing Store address, an existing stock site address or enter a new address. If you choose to add a new address click "Free Form" and enter the new address information in the area provided.
6. Click OK.
Security Permissions Required
| Category | Function |
| Administration – Accounting | *Can Access Accounting Tree Branch |
| SETUP - Default Bill To |
Implications
Purchase Orders
The Default Bill To is the address that will appear on a Vendor Purchase Order. When a PO is written for a certain store the Default Bill To address for that store will default on the Bill To tab. The address can be changed manually on each PO at the time of creation.
Related Video Content:
Your Default Bill To address prints on your Vendor Purchase Orders and Customer Statements. You can default the same address for all stores/departments, or set up a different address for each store/department. The address can also be manually changed from within a Purchase Order. You may add a different Default Bill To address for each store or department.