Evosus Legacy Software now integrates with ADP. Follow the steps below to import an ADP payroll into Evosus Legacy Software.
Step 1: Generate your payroll import file on runpayroll.adp.com
-
Log into runpayroll.adp.com.
-
Select General Ledger > Create GL Files from the menu at the top of the screen.
-
The Create General Ledger File screen appears.
-
General Ledger File Type - Select Accounting CS.
-
Summarized results by - You can select Employee or Company.
-
Include check register data - If you select Yes, the physical checks to the employees are included in the import file and created in Evosus Legacy Software.
-
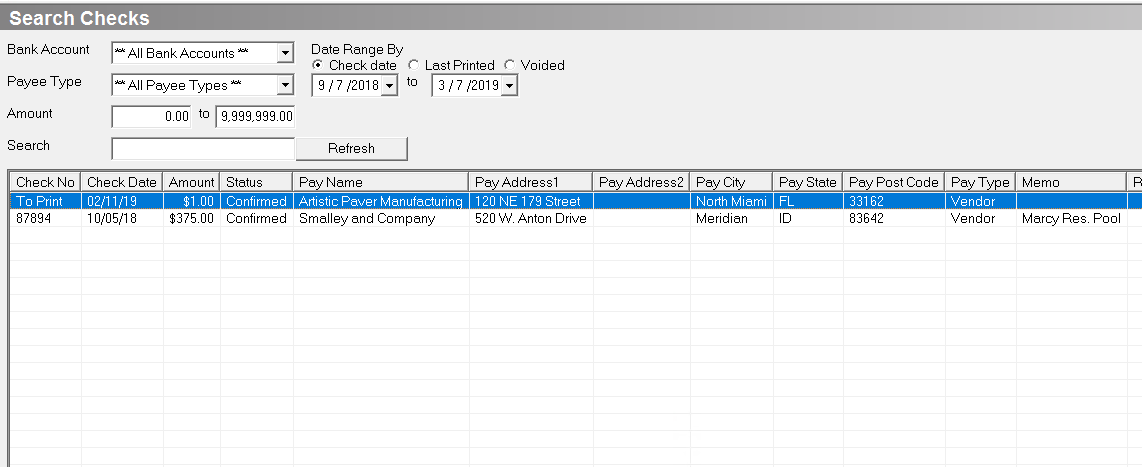
Selecting Yes will create the physical checks in Evosus Legacy Software - After you import the ADP file, the imported checks will appear in Administration > Accounting > Banking > Search Checks. The checks are not posted, but you cannot change the payee on the imported checks.
-
This will create a check for each employee!
-
Matching employees to checks isn't perfect - ADP does not include enough information in the import file to unequivocally identify the specific employee that was paid - for example, a social security number. That means if you import the check data, Evosus Legacy Software may not assign the correct employee to a check.
-
Select the payroll in the lower portion of the screen.
-
Click 'Create File'.
-
This will download an XML file. This is the file that you want to upload into Evosus Legacy Software.
Step 2: Preview the import file
-
Log into Evosus Legacy Software.
-
Go to Administration > Evosus Payroll Services > ADP Dashboard.

-
Select ADP file to Stage - Click
 and select the XML file that you downloaded in step 1.
 -
Click Stage ADP File.
-
Accounting Period Closed! - The import file includes a Period Date field. You'll get an error message if the period date is in an accounting period that you've already closed. Accounting periods are closed using the Accounting Periods screen (Administration > Accounting > General Setup > Accounting Periods).
Step 3: Map the GL accounts
If there are GL accounts in the import file that have not been set up in Evosus Legacy Software, the following message will appear.
-
Click OK. The ADP GL Account Mapping screen appears.
-
Each GL account included in the import file displays as a separate item on the screen. By default, the first GL account is already selected.
-
ADP Account - Displays the GL account included in the import file, and set up in ADP.
-
Do you use departments in ADP? - For example, do you have a GL account that is 100, and then a 100.1, 100.2, and 100.3 for each department? Mapping allows you to map each GL account and department in ADP to a specific GL account and store in Evosus Legacy Software. For example, you can map 100.1 in ADP to GL account 100 and store 01 in Evosus Legacy Software.
-
Check Register - If you included the check register account in the import file, the description of the check register account will appear in the ADP Account column. Map this account to a GL account in Evosus Legacy Software.
-
Map To Account - Select the corresponding GL account in Evosus Legacy Software.
-
Map To Store - Select the corresponding store to map to the GL account.
-
Assign each ADP account to a GL account and store in Evosus Legacy Software.
-
Click Close once all of the ADP GL accounts are mapped.
Step 4: Stage the import file
-
Once your ADP GL accounts are mapped to Evosus Legacy Software GL accounts and stores, click 'Stage ADP File' on the ADP Import screen.
-
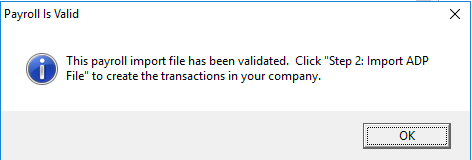
The application verifies that the file is valid.
-
Click 'OK' to continue.
-
Click Import ADP File.
-
Click 'Yes' to confirm.
-
The payroll has been imported.
-
Click Close when complete.
Step 5: View the journal entry that was created by the payroll import
-
In Evosus Legacy Software, go to Administration > Accounting > Banking > General Journal Entry.
-
Click on the journal entry. The Reference Number will be "PR-XXX", and ADP Payroll Import will appear in the Comment column.
-
The journal entry created by the import appears.
-
If the journal entry is incorrect, you can delete the journal entry, make changes in ADP, and then import the file again.
Step 6: View the imported checks (if you included the checks in the import file)
-
In Evosus Legacy Software, go to Administration > Accounting > Banking > Search Checks.
-
The reference number of the checks will start with PR.