Use the Print Checks screen to print checks that have been processed in Write Checks, or the Pay Bills screens. Checks can be printed one at a time or as a group. If you have more than one bank account, the system will not allow you to print checks across multiple bank accounts at the same time. You must print those checks in separate printing sessions.
The Print Checks screen is also the place to reprint checks, void checks and remove a check from the print queue.
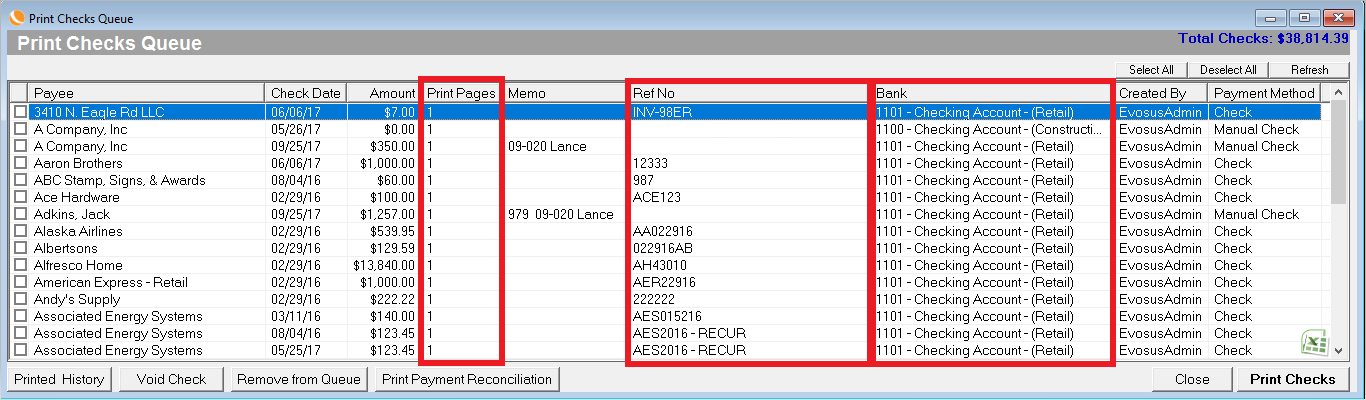
Print Checks Queue Column Legend
-
Payee: Indicate the person you wrote the check to. Could be a customer, vendor, employee or another type of payee. Evosus sorts the print checks list alphabetically by Payee Name.
-
Check Date: Indicates the date you entered on the check.
-
Amount: The total amount of the check including discounts or debit memos applied.
-
Print Pages: Displays the number of pages the check will "burn" through. A check can use more than one check if there are too many invoices to display on a single check stub. In this instance, Evosus will void all subsequent checks until all related invoices have printed.
-
Memo: Displays the memo entered in the Memo field of a check. This will default to the vendor or customer's account number.
-
Ref No: Displays the Reference number entered on the check. The default is the Vendor Invoice number or the Customer Return Invoice number.
-
Bank: Indicates what bank account you wrote the check to. Keep in mind that Evosus will not allow you to print checks across multiple bank accounts at the same time. You must print each account in separate print sessions.
-
Created By: Indicates the employee that created the check.
How to Print Checks
- Open the Print Checks Queue screen - Administration > Accounting > Banking > Print Checks
- Check off the checks to print.
- Double click on a check if you need to make changes. Make sure you click Refresh after returning to the Print Checks queue.
- Print Pages: Number of pages needed to print the check. If there are too many invoices to print on a single check stub, the check will print on more than one page.
- If Print Pages is greater than 1, you need to print the check by itself - Put a single page of check stock in your printer, and regular paper for the additional pages. The system will print the actual check on your check stock and the invoice information on the additional pages.
- Reference Number: Reference number on the check. By default, this is the vendor account number or the customer return invoice number.
- Bank Account: You cannot print checks from multiple bank accounts in the same batch because you need to put different check stock in the printer.
- Click Print Checks. A confirmation message appears.
- Click Yes.
- Load your checks in the printer and note the beginning check number.
- Enter the beginning check number and click OK.
- The last check number printed displays on the screen. See the example below.

- Click Yes. A print screen will appear with all the checks that need to be printed.
- Click Print.
How to Reprint a Check
- Open the Print Checks Queue screen. You can open this screen from Administration > Accounting > Banking > Print Checks
- Click Printed History. The Printed Checks History screen appears.

- Select a filter at the top of the screen to locate the check you want to print. For example, select Yesterday and the checks that you printed on the previous day appear in the screen.
- Search By Check Number: You can also find a check by check number.
- Select the check you want to reprint.
- Click Reprint Check. A confirmation screen appears.

- Click Reprint Check. A confirmation screen appears.
- Click Yes.
- Click OK. The check now appears in the Print Checks Queue screen.
- Select the check to reprint and click Print Checks. A confirmation message appears.
- Click Yes.
- Load your checks in the printer and note the beginning check number.
- Enter the beginning check number and click OK.
- The last check number printed displays on the screen.

- Click Yes. A print screen will appear with all the checks that need to be printed.
- Click Print.
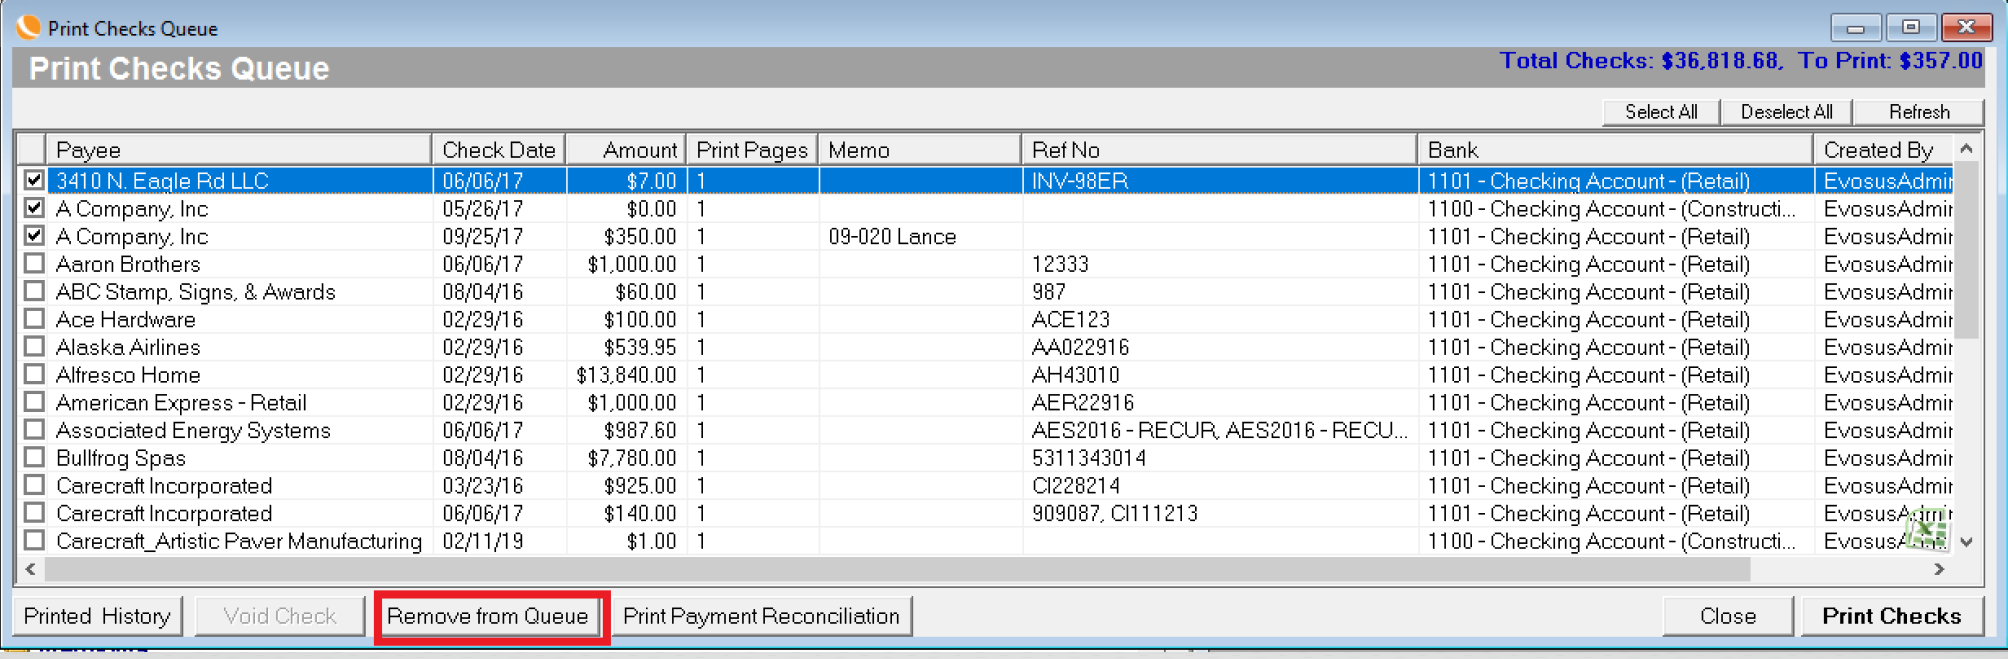
How To Remove a Check From the Print Queue
Select a check and click Remove From Queue on the Print Checks Queue screen if you do not wish to print a check. This will not void the check; it only means you do not intend to print the check. Go into the Vendor Profile > Payments Tab or Write Checks to view the check.
If you hand write a check but would like it recorded in Evosus® you could follow the normal process of Paying Bills and printing the check; however, you will not actually print the check once it is sent to the print screen. This way the number of the check is recorded in Evosus® and the money is removed from your account. You could also manually write a check through Write Checks and enter a check number there which implies you do not intend to print the check.
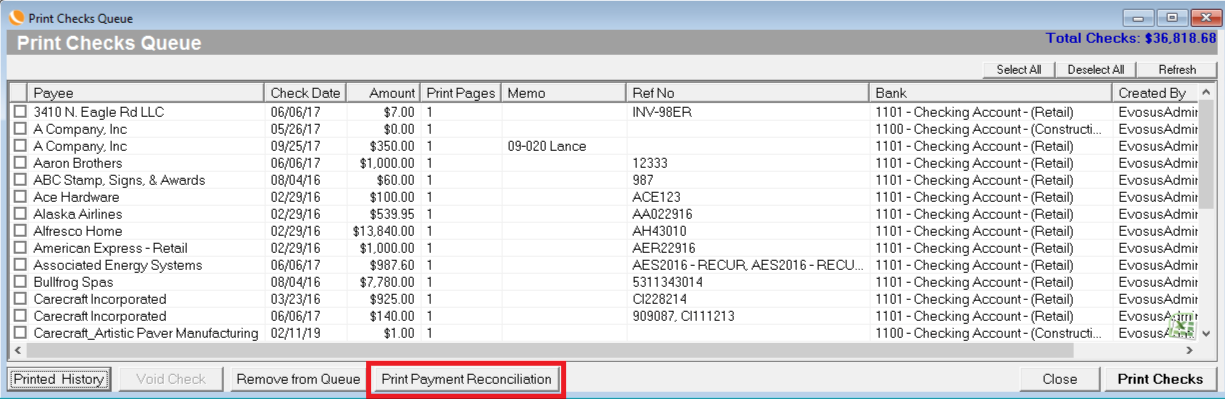
Print Payment Reconciliation
This report displays payments applied to invoices for a selected range of dates. This report can be generated from several places in the application.
- Open the Print Checks Queue screen.
- You can open this screen from Administration > Accounting > Banking > Print Checks or Administration > Accounting > Accounts Payable > Write Checks.
- Click the Print Payment Reconciliation button.
- Select the date range.
- Click OK.