
This is a quick and easy way to import new inventory items that are available to purchase from your vendor without manual data entry. Evosus checks to see if the item already exists in your database prior to the import based on your item code, vendor item code, and item alias. For example, the item code must match exactly in order for the application to consider it a match. For instance, C4950 will NOT match C-4950.
*Important Note: You will be given the opportunity to pick and choose which items you wish to import.
Integration Partners that Support This Feature:
Import New Inventory
The integration must be set up before you can use this feature. See Industry Integration - Overview for general information about setting up an integration.
- Open the New Inventory Import screen (Administration > Industry Integrations > Import New Inventory).
-
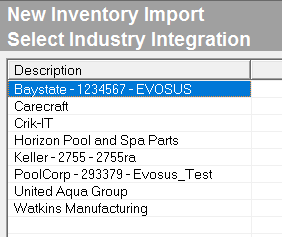
Select an integration and click Next.
-
Only integrations that have been set up appear for you to choose from.
-
Where are integrations set up? Integrations are set up under Administration > Industry Integrations > General Setup. For example, select PoolCorp in the General Setup folder to set up a PoolCorp integration.
-
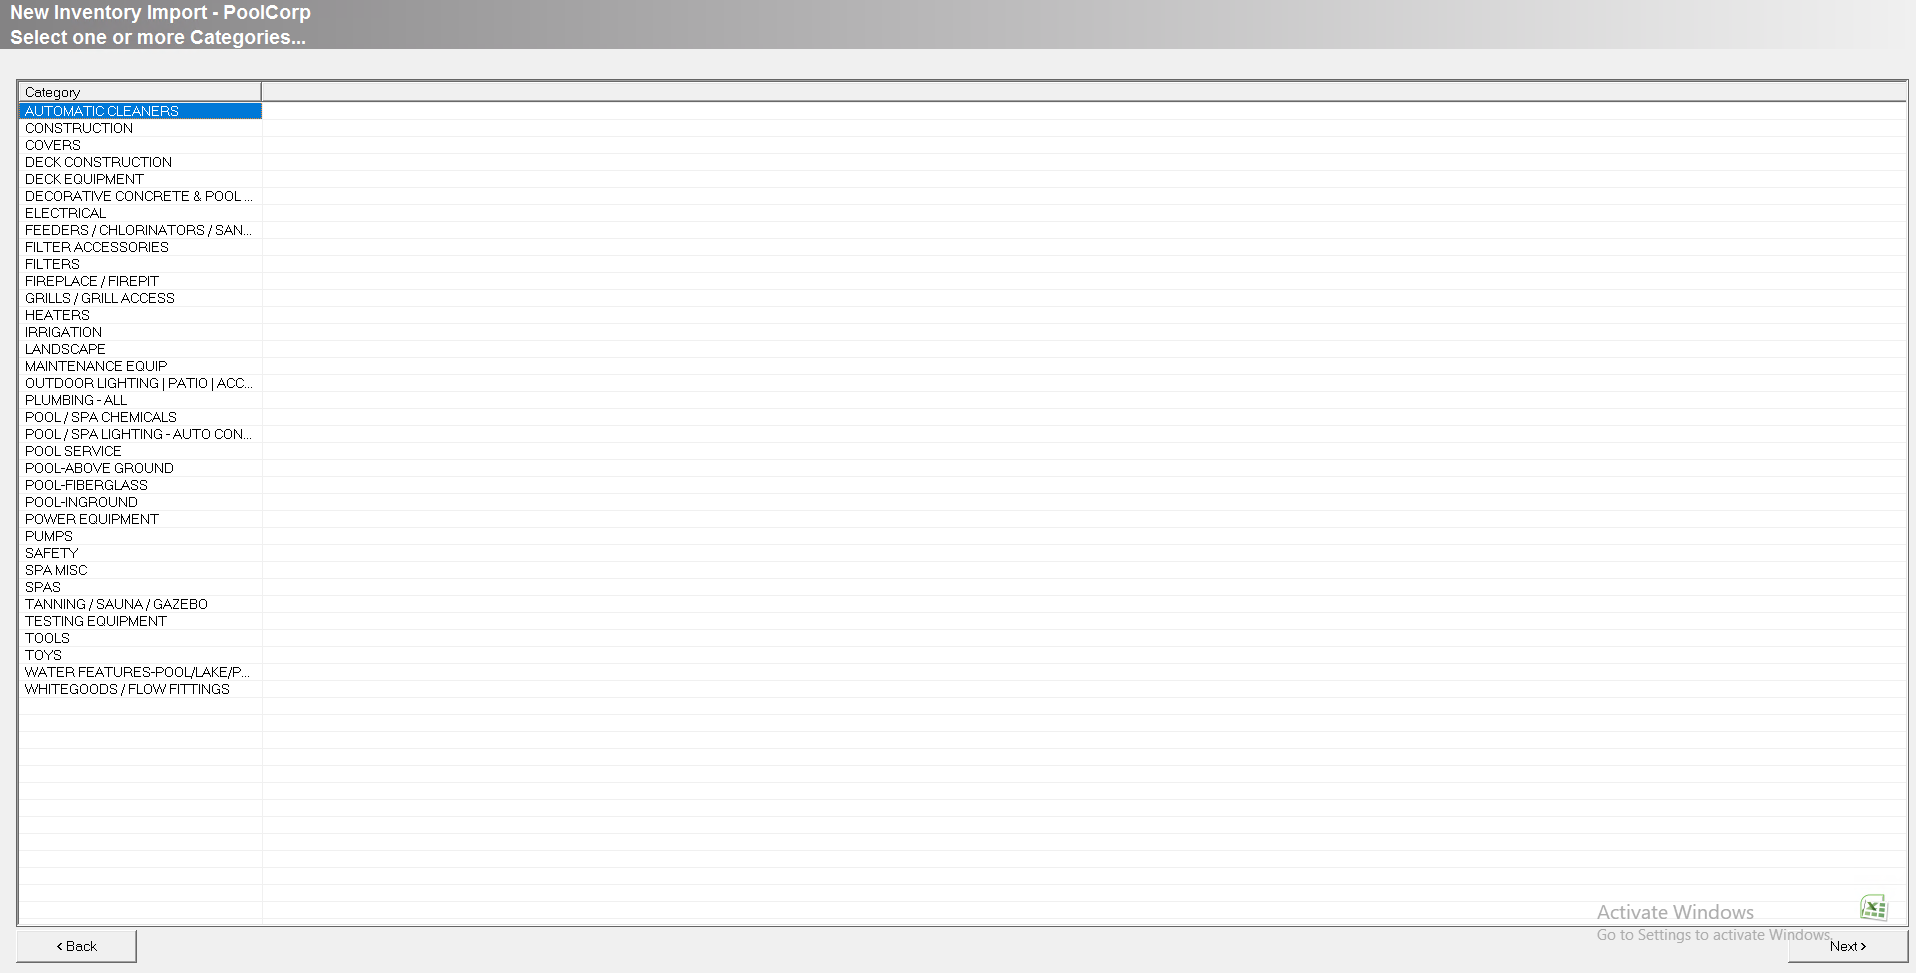
Select the product categories that you want to import and click Next. For example, select Filters to import some new filters.
-
You can select multiple categories, but all of the selected categories are imported into a single folder in your inventory tree - Think about the structure of your inventory tree before you select the product categories. When you import the products, they are imported into a single folder in your inventory tree. For example, if you select the product categories Spas and Heaters, the imported spas and heaters are both placed in the same folder in your inventory tree. The application can automatically create sub-folders inside the selected folder in your inventory tree for each product category (for example, the application can automatically create a Spas and Heaters subfolder in the selected folder in the inventory tree), but depending on how your inventory tree is set up, you might want to import one category at a time.
-
You can also import all of the items into a temporary folder, and then move the items to the proper place. For example, you can create a folder in your inventory tree titled Integration using the Product Lines tab on the Administration - Inventory screen (Administration > Inventory > General Setup > Product Lines), and import all of the new products into this folder. Then you can use the Inventory Tree Mapper screen (Administration > Inventory > Utilities > Inventory Tree Mapper) to move each item to the proper place in the inventory tree.
-
Select multiple categories: Hold CTRL and click on each product category.
-
Select a range of categories: Hold down SHIFT and click on the first and last category in the range.
-
You can pick up to 15 product categories.
-
Select the items that you want to import and click Next.
-
Select multiple products: Hold CTRL and click on each product you want to import.
-
Select a range of products: Hold down SHIFT and click on the first and last product in the range.
-
Select where the imported items should be placed in your inventory tree.
-
Check Item Aliases when duplicate checking items: By default, the application will verify that the item does not already exist using the item code and vendor item code. Check this box if you also want the application to search for duplicate items using the item alias. Aliases are created and maintained on each inventory item using the Alias tab on the Item screen (Inventory > Open an item > Alias tab).
-
Create the vendor supplied categories in this location: Automatically create product category subfolders inside the selected folder in your inventory tree. For example, if you are importing the Filter and Filter Accessories product categories, the application will automatically create a Filter and Filter Accessory subfolder inside the selected folder in your inventory tree.
-
Default Retail Margin: Enter the default retail margin for the imported products. This is a quick way to assign a retail price to the item as it is imported.

-
Click Import.
-
A list of the imported items is displayed.
-
FAILED will appear next to each item that was not imported - for example, if the item was a duplicate.
-
Review the retail price of each item using the Item Price column.

-
(optional) Click Review Retail Price to adjust the retail price on the imported items. This opens the Retail Price Change Utility.
-
Click Done when complete. The items have been imported.
Security Permissions Required
Related Video Content: