
Use order queues to replace the phone calls, faxes, and guesswork that accompany order processing. Every piece of information you need to move a transaction through the order process can be controlled and recorded within the Order Queue.
- Order Queues are used to capture and manage orders based on specific criteria. Order Queues ONLY display Orders, not invoices. Adding an Order Queue allows you to specify managers and rules for the Queue.
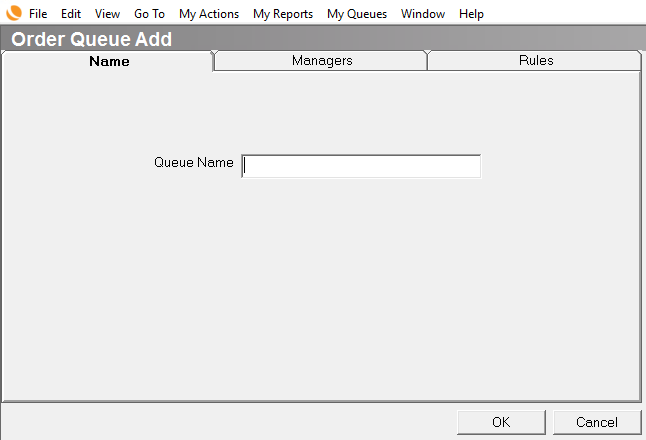
- Enter the basic order queue information
- Open the Order Queue Add screen. Go to Administration > Sales > Order Queues > Add Order Queue
-
Queue Name - Enter a name for the queue. For example, New Sales Orders, Orders to be Rescheduled, or Warehouse Orders.
-
Manager - Select the manager(s) for the queue. Managers are the only users allowed to remove orders from the queue. Managers can also see the new queue listed in My Queues in the toolbar at the top of the screen.
- Select the queue rules
Open the Rules tab and select which orders appear in the queue. If you do not select any rules, users can add orders to the queue as needed.

-
Orders - Updated By Mobile, Orders - Updated By Mobile w/Data Conflict, Orders - Updated By Mobile w/Mobile Notes - See Setup Guide for detailed information about setting up Evosus Mobile Service.
-
POS -Bill Me Later Orders: Auto-captures all POS Transactions checked off as Bill Me Later.
-
POS -Warehouse Orders: Auto-captures all POS Transactions checked off as Warehouse Order.
-
Return - Cancelled Orders: Auto-captures all canceled Return Orders.
-
Return - Invoiced Orders: Auto-captures all invoiced Return Orders. Since Queues only display orders, the order will be in an Open-Invoice-Full or Closed-Invoice-Full status.
-
Return - New Orders: Auto-captures all-new Return Orders.
-
Sales - Cancelled Orders: Auto-captures all canceled Sales Orders.
-
Sales - Invoiced Orders: Auto-captures all invoiced Sales Orders. Since Queues only display orders, the order will be in an Open-Invoice-Full or Closed-Invoice-Full status.
-
Sales - New Orders: Auto-captures all-new Return Orders.
-
Sales - New Orders entered with No Schedule Date: Auto-captures all Sales Orders that have no service tasks assigned. This would allow Service Managers to view orders that need to be scheduled.
-
Sales - New Orders with Insufficient Inventory: Auto-captures all Sales Orders where there is not enough inventory in stock for one or more of the items on the order.
-
Sales - Vendor Purchase Order - Ordered: Auto-captures all Sales Orders where a vendor Purchase Order has been associated with the customer and Sent to the Vendor.
-
Sales - Vendor Purchase Order - Received: Auto-captures all Sales Orders where a vendor Purchase Order has been associated with the customer and inventory has been received.
-
Sales - Warranty Item(s): Auto-captures all Sales Orders where one or more items were marked as Warranty.
-
Service - Cancelled Orders: Auto-captures all canceled Service Orders.
-
Service - Invoiced Orders: Auto-captures all invoiced Service Orders. Since Queues only display orders, the order will be in an Open-Invoice-Full or Closed-Invoice-Full status.
-
Service - New Orders: Auto-captures all new Service Orders.
-
Service - New Orders entered with No Schedule Date: Auto-captures all Service Orders that have no service tasks assigned. This would allow Service Managers to view orders that need to be scheduled.
-
Service - New Orders with Insufficient Inventory: Auto-captures all Service Orders where there is not enough inventory in stock for one or more of the items on the order.
-
Service - Tech Marked Complete: Auto-captures all Service orders where one or more tasks on the order were marked as Complete.
-
Service - Tech Marked Incomplete: Auto-captures all Service Orders where one or more tasks on the order were marked as Incomplete. This allows the Service Manager to quickly find orders that need to be rescheduled.
-
Service - Vendor Purchase Order Ordered: Auto-captures all Service Orders where a vendor Purchase Order has been associated with the customer and Sent to the Vendor.
-
Service - Vendor Purchase Order Received: Auto-captures all Service Orders where a vendor Purchase Order has been associated with the customer and inventory has been received.
-
Service - Warranty Item(s): Auto-captures all Sales Orders where one or more items were marked as Warranty.
- Save the order queue when complete
- Click 'OK' to save the order queue.
a. The Order Queue Search screen appears and displays the new queue.
Update Existing Queue
Use Manager Order Queues to view all Active and Inactive Queues (Administration > Sales > Order Queues > Manage Order Queues). You can also add new queues, update existing queues or view orders within a queue.
-
Go to Administration > Sales > Order Queues > Manage Order Queues.
-
Highlight the Queue you wish to update
-
Click 'Update'.

-
To inactivate a Queue, select the Inactive status. You may view inactive queues in the Manager Queues screen by selecting the Inactive status filter.
-
Change the Queue name if necessary.
-
Add or remove Managers if necessary.
-
Add or remove Rules if necessary.
-
Click 'OK' to save changes.
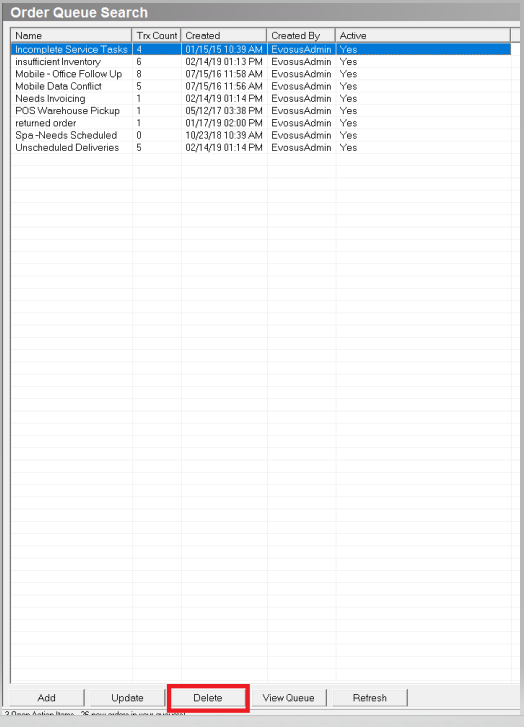
Delete a queue
Click the Delete button on the Order Queue Search screen to delete a queue, and all of the contents of the queue (Administration > Sales > Order Queues > Manage Order Queues).
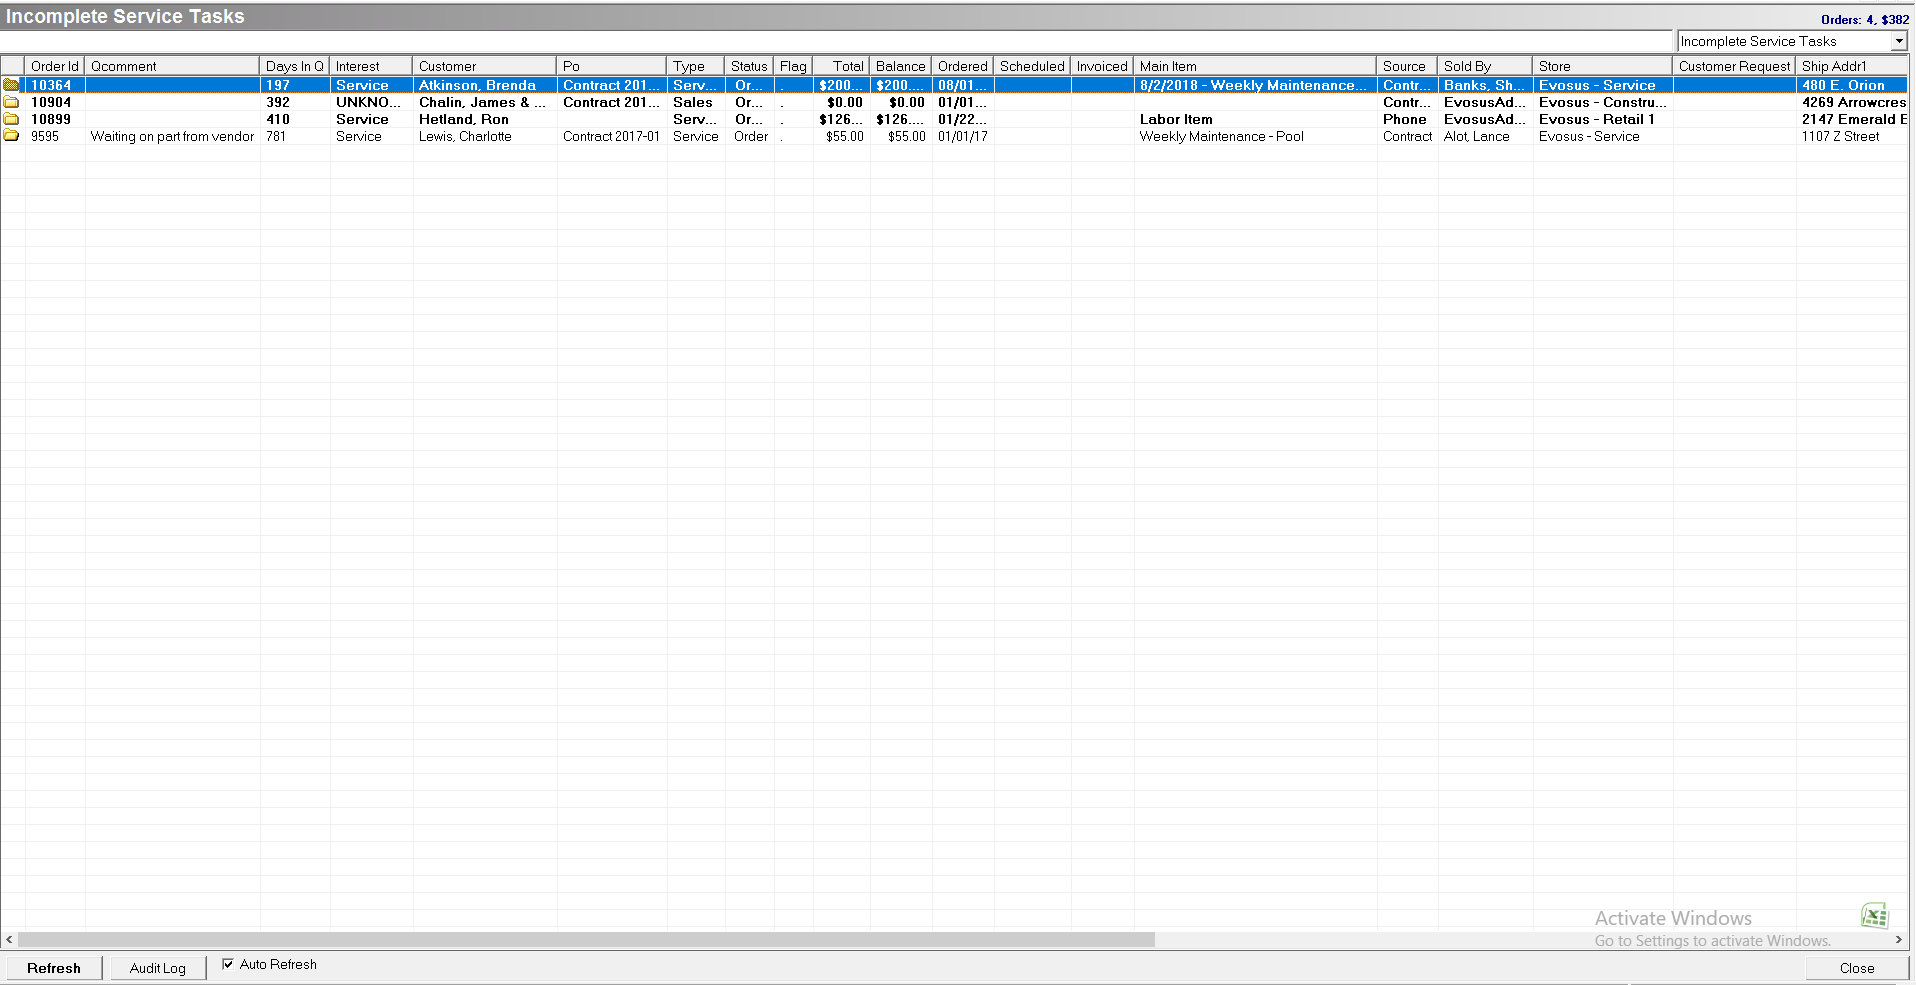
View all orders in a queue
Use Search Order Queues to view all the orders in a specific queue (Administration > Sales > Order Queues > Search Order Queues). There are several right click options available within a Queue to help you manage the orders in the Queue.
-
Use the queue pull-down menu in the upper right corner to move between queues.
-
The queue Audit Log displays activity within the queue, such as adding and removing orders.
-
You can perform an action on multiple orders at the same time.
-
Select specific orders - Hold CTRL and click on each order you want to select.
-
Select a range of orders - Hold SHIFT and click on the first and last order in the range.
Related Video Content:
Manage Order Queues
Add New Queue